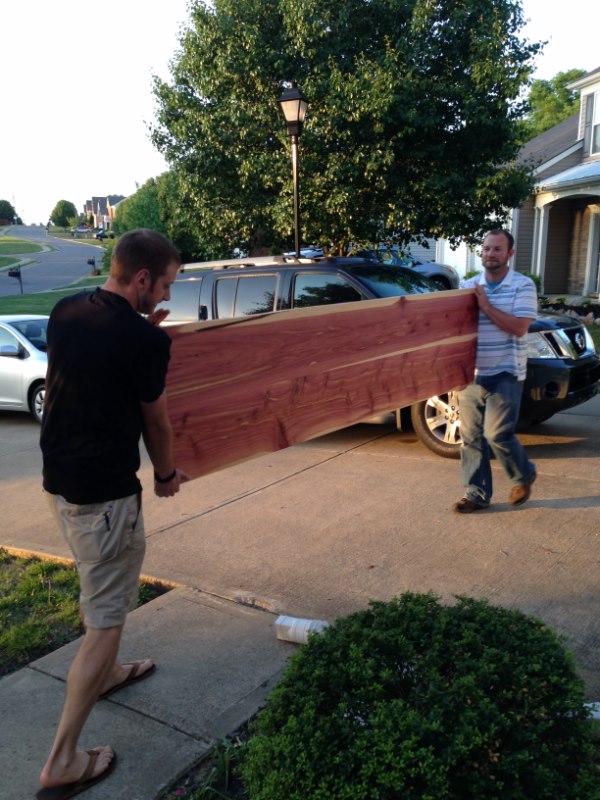
Earlier this year, a client requested the construction of a console table for their living room. The couple had purchased a 1940s house in East Nashville and were in the process of renovating it. During work in the attic, they removed several studs from the walls to expand a room and set these studs aside, considering potential reuse for another purpose.
Side note, after cleaning up the studs we figured out these were red oak studs and they were very beautiful wood.
His intention was to commission the table as a gift for his wife, in celebration of either their anniversary, her birthday, or Christmas. After agreeing on the quoted price, he arranged for the delivery of the studs to my residence, knowing I would need approximately two and a half months to recover from knee replacement surgery before commencing work on the project. This timeframe allowed me to thoroughly examine the materials provided, assess their suitability, and strategically plan the construction process for the table.
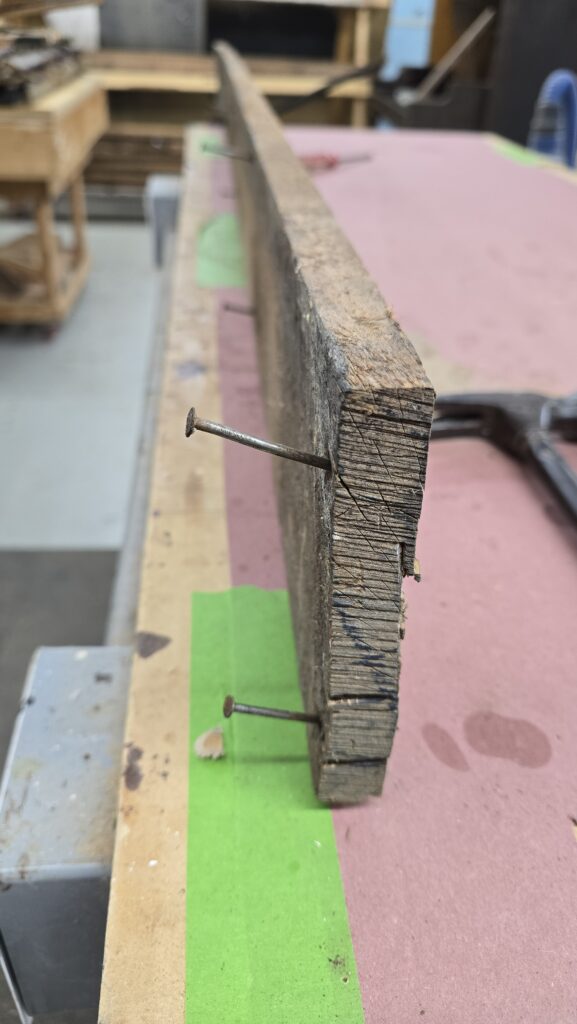
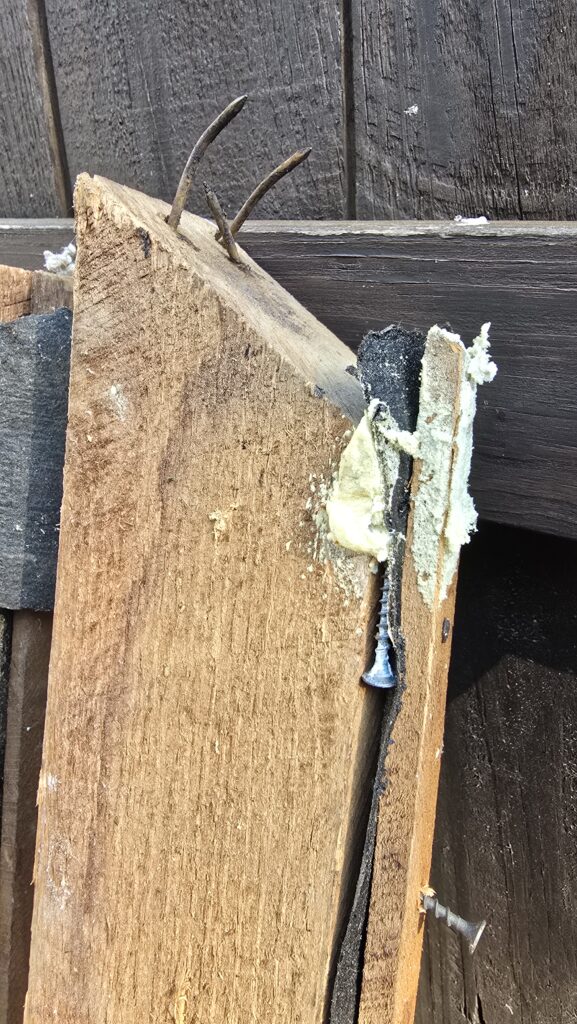
When he delivered the wood, I noticed it was full of nails, screws, and bolts from previous uses like wall assembly or hanging items. I needed to remove all visible fasteners and check for any hidden ones to avoid damaging my tools when processing the wood.
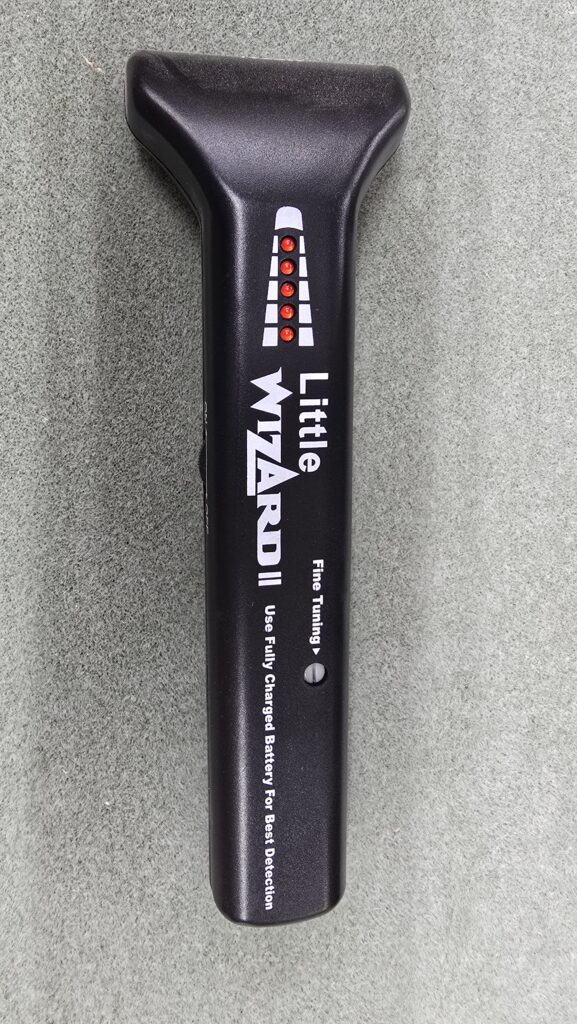
My initial objective was to identify a tool capable of locating and detecting metal within wood. After conducting research, I discovered a company offering a device named the Little Wizard 2; a link to this product is provided below. The manufacturer claims the tool can identify any metal embedded in wood. Upon ordering the device, I first tested both its functionality and my own physical readiness by assessing whether it could reliably detect screws or nails and how well my knee would tolerate extended use.
So I pulled all of the nails and screws that I could see and then I started running the metal detector down the wood, sure enough all of a sudden it started to beep, I couldn’t see anything with my eye and I was really hesitant. Was there really something in there or was it picking up something else. So I went over it a few times and then I finally said OK let’s take a look. So I took my chisel and started working around the area that the metal detector kept beeping and sure enough about ½ inch into that stud there was a broken piece of metal that I had to get out. So, success story number one on this project! The Little Wizard 2 worked exactly as promised and I was able to get all of the screws, nails and metal out of these studs.
The Little Wizard 2 reliably detected exposed nails down to a quarter-inch deep in the wood. https://amzn.to/4h0nEZx Little Wizard II
The next challenge was building a 110-inch-long table with only three long studs and some smaller pieces. The table needed to be 110 inches long, 12 inches wide, and about 29 inches high. Since attaching lumber end-to-end is unstable and I couldn’t extend the wood otherwise, I chose to join the pieces using 3-inch half laps for added strength.
Now that I know how to assemble the lumber, I must mill it, clean it and even it out. The studs were uneven—some sides were 2 inches thick, others 4 inches—so I had to figure out how to make them usable. The client wanted to keep as much of the original character as possible, so the table wouldn’t look new. I agree; preserving old lumber’s character is important. Still, I need to level and even the wood to create a flat table.
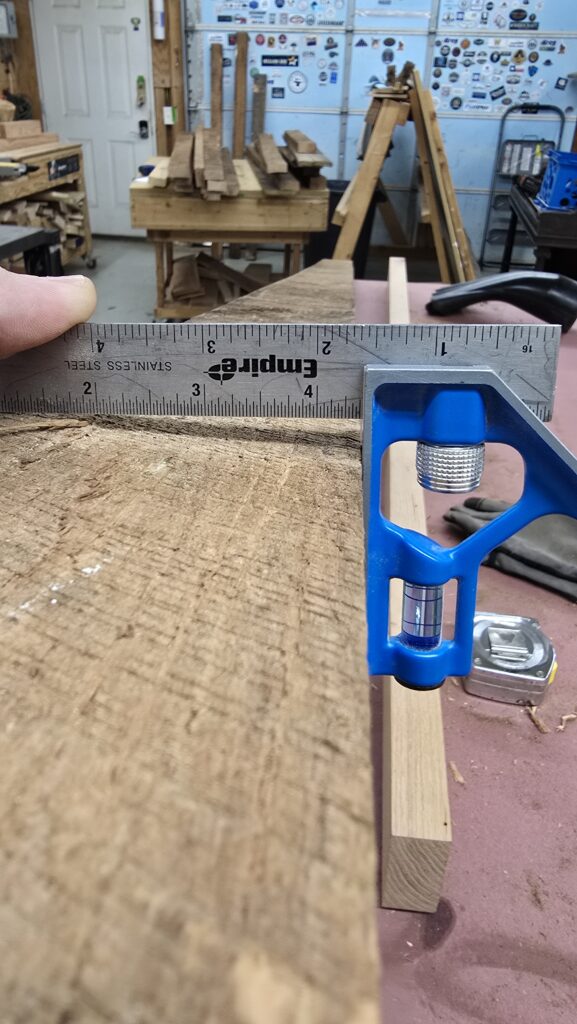
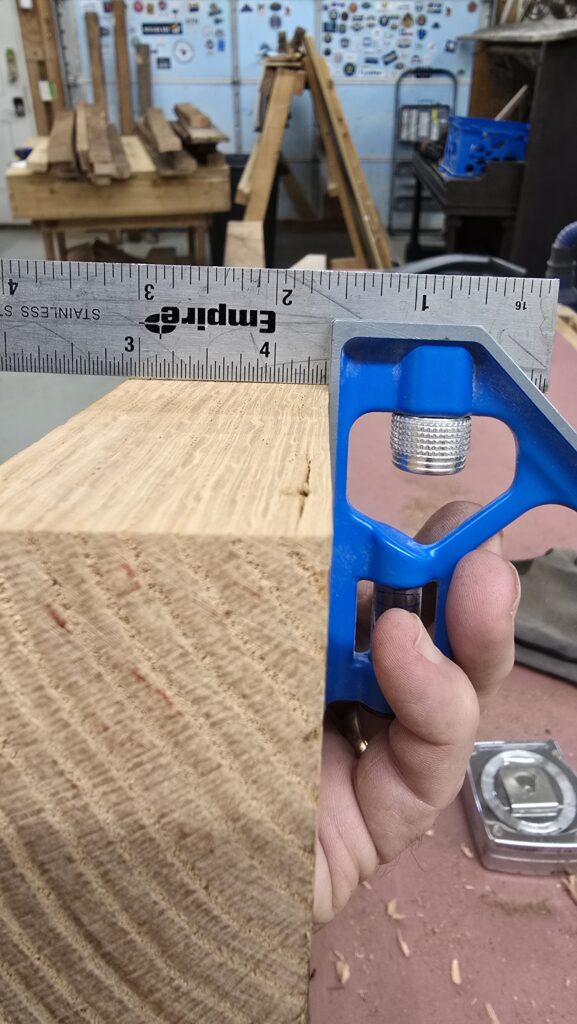
After removing all nails, screws, and metal from the studs, I used my jointer to flatten one face and one edge. These old studs, with over 90 years of dust and dirt, produced more debris than anything I’ve milled before, so I wore a dust mask throughout. Once surfaced, I ran them through my planer to make the opposite face coplanar, then used my table saw to square the remaining edge.
I’ve milled all the studs flat and even, each close to 1¾ inches thick. Next, I’ll lay them out on my workbench to determine the best length, factoring in half-lap joints.
Since a 12-inch wide table at 29 inches high would be unstable, I suggested increasing the width to 16 inches; after joining, the final width was about 15½ inches.
After planning where each half lap would go, I marked and numbered all the studs before cutting them. This ensured that when assembling, the pieces matched the original layout.
Instead of using a table saw with a dado blade—which can cause long wood pieces to rock—I used my miter saw to set the depth, made several cuts across the 3-inch area, and then cleaned it up with a chisel to make everything flat.
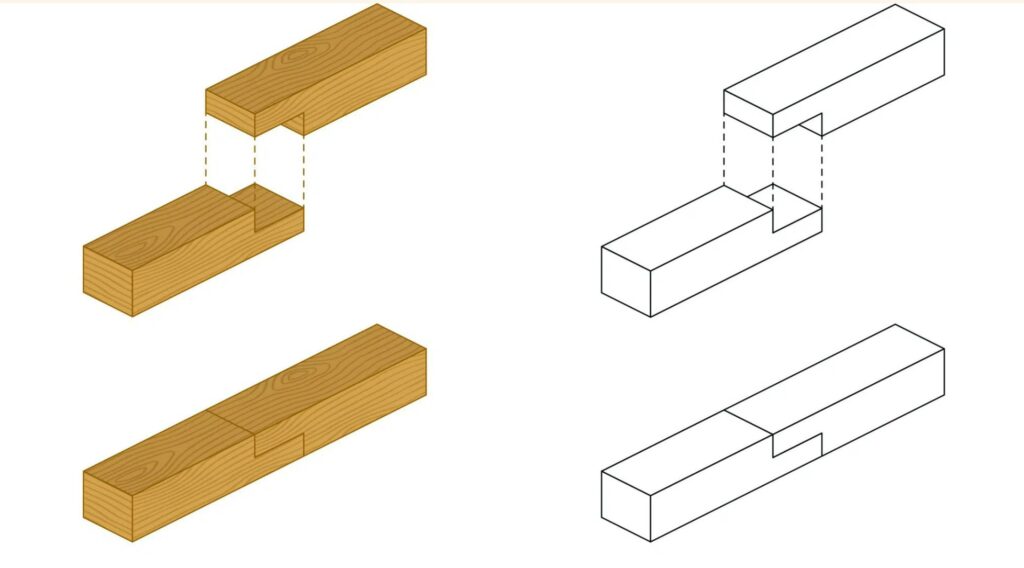
After cutting the half laps, I needed a stable way to join the pieces end to end. Using half laps for stability, I drilled two holes from the top and two from the bottom of each joint, applied glue, and secured them with screws—four per joint. I then plugged the screw holes with black walnut accents. The table measures about 97 inches, but to reach closer to the desired 110 inches, I added three-and-a-half-inch breadboards to each end, extending the length to around 104 inches.

After confirming the boards are joined and the length is right, it’s time to assemble the table’s width. I use dominos, oblong dowels that strengthen and level the boards during glue up. The finished width of about 15 inches ensures stability and prevents tipping.
To build a stable table about 29 inches tall with a 104-inch length, I’ll need six legs—two at each end and two in the middle. Adding an apron around the table will allow me to securely attach the top from underneath, so I should ensure there are enough studs for this as well.
All tabletop pieces have been assembled, including the base legs and aprons. At this stage, a shelf still needs to be added, but there is no wood remaining. The available materials include ash and maple, though these do not match red oak. However, there is some white oak available. The white oak was cut into strips approximately three inches wide and used to construct the bottom shelf. Since the shelf is not directly adjacent to the tabletop, the difference in wood type is not easily noticeable.
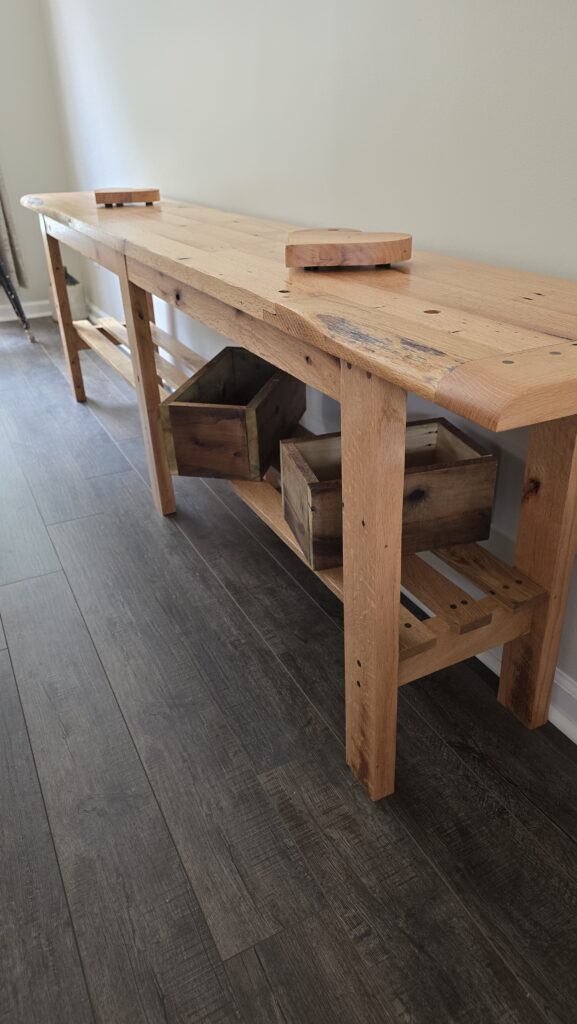
After assembling everything, I sanded the final piece. Since one outside section used live edge wood, I rounded the breadboard ends with a sander to match the same curve as the live edge.
After completing sanding, I applied a homemade wiping polyurethane to seal the entire table.
The resulting table measures approximately 104 inches in length and 15 inches in width, constructed from every stud salvaged from the attic of this 1940s East Nashville residence. To preserve the authentic character of the original wood, none of the nail or screw holes were filled. Additionally, knot holes, which are naturally formed from tree branches, were left unaltered to further retain the material’s unique history.