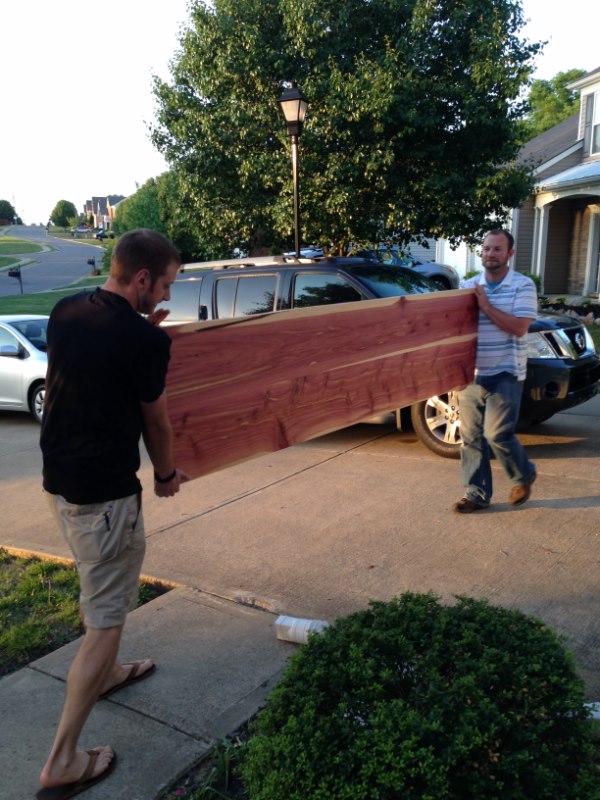
I received an email from a client asking if I could make 4 barstools of out some of his old baseball bats. Not having built stools before I made him an offer.
Bring me the bats and I will make a prototype “ at no charge to him” to see if I could pull it off. That sounds like a good plan he said and agreed to swing by and drop off the bats.
I must have been tired because I never questioned when he said “His bats” where and when did he play. It wasn’t until he showed up and I looked at the bats did I realize who he was. His name was on every bat and they were created by Louisville Slugger company. I looked at him and said, “you played in the majors? Yep he said and explained how he was on the field when Cal Ripken pulled himself off the field for the last time.
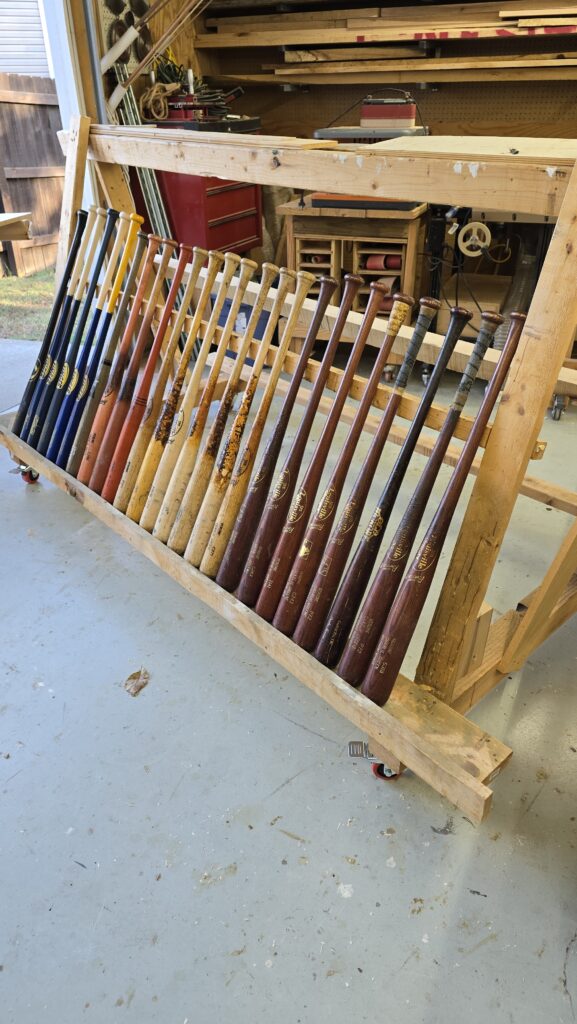
This is the row of bats that he supplied for me to build the stools with. As you can see there are a number of reddish/brown, some tan and them multiple bats in various colors. This also means that they are made with various wood species.
If you look close you will see “blue” bats. These are fungo bats that I will use to make a bedside table for him. If you are not familiar with Fungo bats, Check out this website. https://www.justbats.com/blog/post/everything-to-know-about-fungo-bats/
In short, a fungo bat is a long, lightweight baseball bat used by coaches (or parents) during pregame hitting or practice to help them hit grounders and pop flys with more consistency and less fatigue. With these special practice bats, players can practice catching flys and grounders without the coach or parent losing stamina.
All that said, not a lot of room to make mistakes – NO Pressure.
But before I go any further – this is an awesome project and as a baseball fan, nothing better So, as my old ITIL manager would say, “its time to follow the process”
Find the correct angle and build the seats
First, I need to know the correct angle needed for the legs to support the stool properly. After quite a bit of research I discovered that 11# is the optimal angle needed. I did find some metal plates that would attach to the seats give the angle and then use dowel screws into them and the legs. After looking at them I ( well my wife and I) decided they didn’t seem to provide the strongest connection and seem to be the weak link. So I decided to drill the seat using my drill press using a 7/8” forstner bit.
But I have never changed the angle on the drill plate on my press. Once I figured out how to make the adjustment, I used my digital meter to set the proper angle.
Ok that figured out, now to make the seats.
I used 2” rough hard maple and milled it to 1 ½” thick. I then created 5, square seats 18” x 18” – Yes 5 because I need to make the prototype and the 4 final stools.
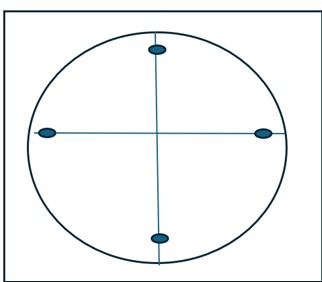
Using a square I found the center and 2 lines that crossed at the exact center and then used a compass to create the 16” circle. Once I created the circle, I used the center mark and those crossed lines to find the correct spots to drill the holes for the legs. I placed an awl hole at 3 ¼” from the outside of the circle on each line.
Bring on the tools:
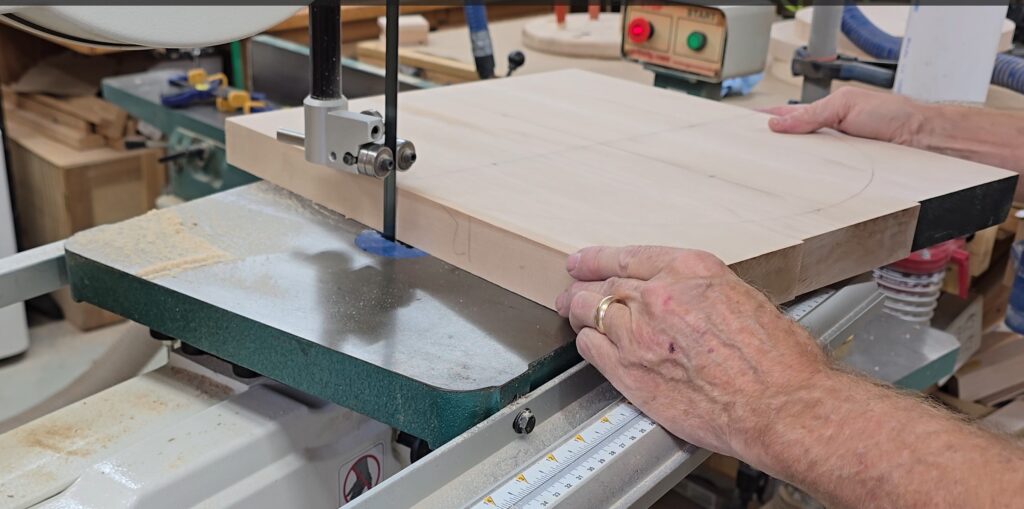
Ok so I know where I am going to drill the holes, I decided to use the band saw to cut the seat circles before anything else. This Grizzly tools band saw has been a work horse for me and cuts through this hard maple with ease.
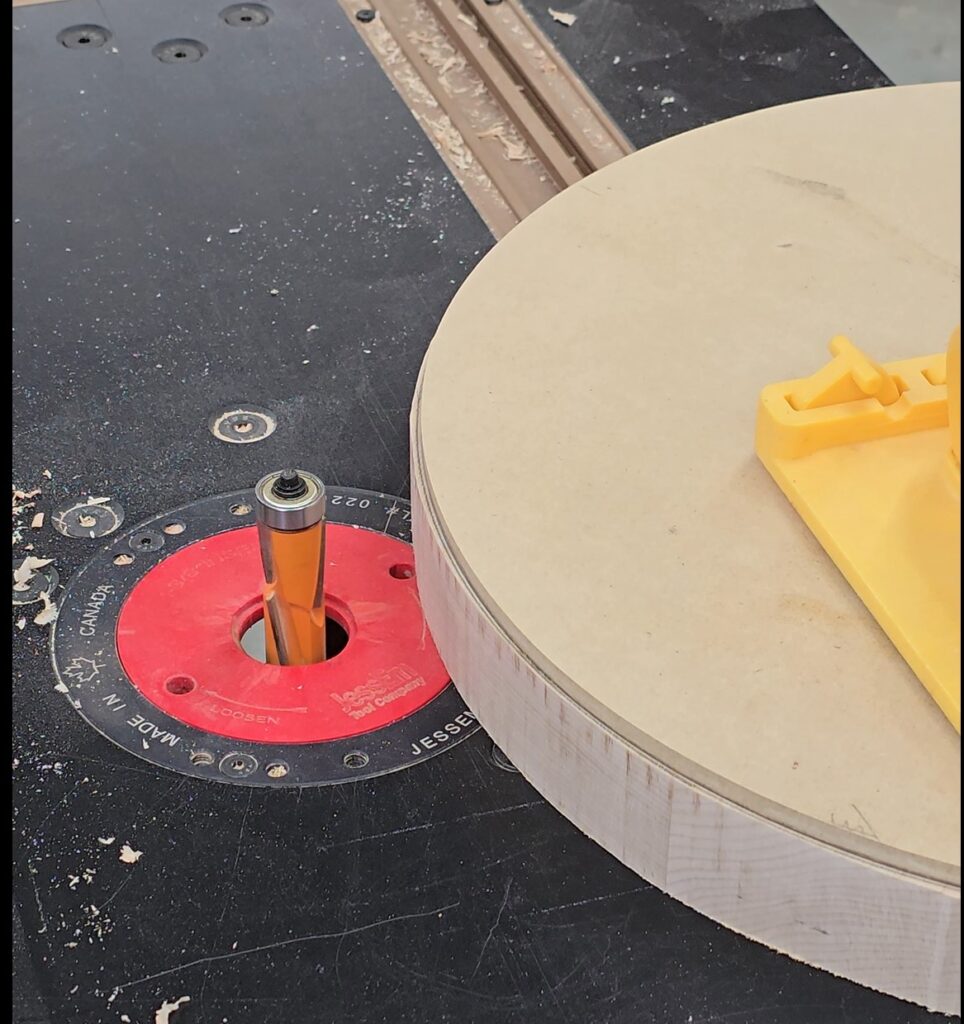
Once they are all cut, I used my router table with a flush trim bit to clean up the edges and remove any band saw marks. The best way to do this is to use a circle template that I created using ¼” pressboard. I am using a CMT Orange Super-duty Flush Trim Bit – XTREME Series 7/8/906.41B on my JessEm router table
Once all the seats are cleaned up it’s time to take the “First” pressure move. That is to drill the holes in the proper place. I will drill all the way through the seat so that when I put the bats/legs in, they will protrude through the top just a bit. I will use a flush trim/pull saw to clean that up later. I am using a 7/8″ Forstner bit and make sure to clamp the seat so it does not move.
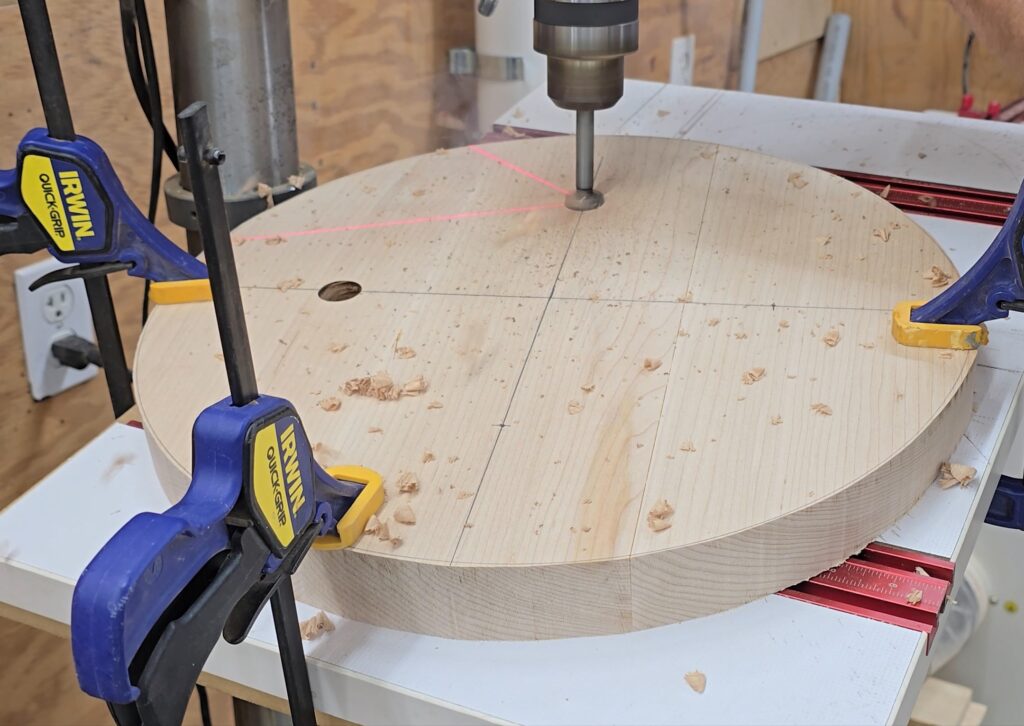
Ok, Done with the easy part. Now it’s time for Pressure move Two! No worries, I got this. Ok, God’s got this, stop and pray.
It’s time to head to the Harvey table saw and cut the bats. I needed to set the table saw blade at 11 degrees (actually 79# because of the tilt of the blade) for the bat to fit properly into the hole that was drill. Two more issues to deal with here. Because the barrel of the bat is thicker that the handle, the saw blade wants to push the bat back towards the miter gauge. So I needed to place a block of wood between bat and the miter gauge.
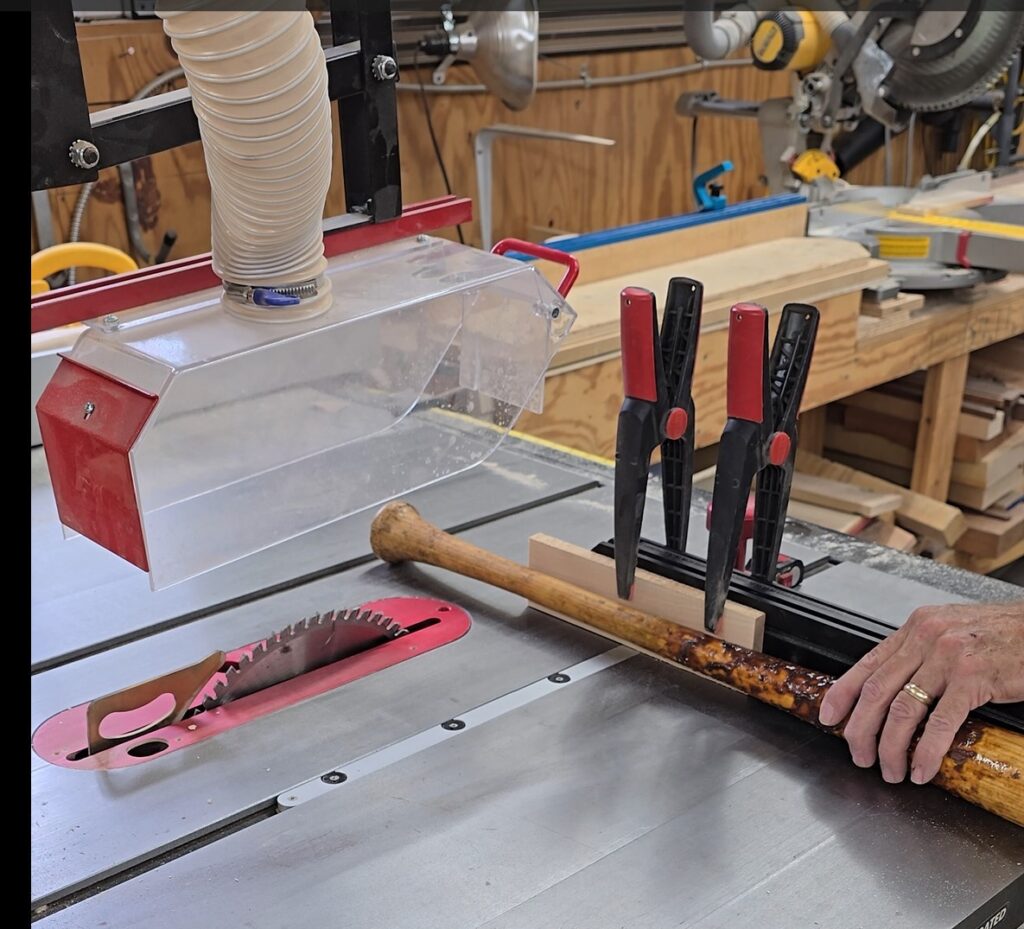
But that’s not the only adjustment I needed to make. I needed to make sure the players’ name could be read when looking at the stool. So, it needed to be facing out. That means when I cut it on the table saw the name needed to be facing up. This allowed the 11-degree angle to be in the correct position when placed into the seat. WHEW!
Ok deep breath and just make the cuts. Also, because the stools need to be 28” in total height I needed to cut the legs at 30” because they were going to protrude through the seats and be cut off later.
Everything drilled, cleaned up with my router and cut on my table saw, now it’s time to put them together. This was the easy part and the most satisfying. But wait, I am not done yet. The bats will not fit in the holes. YIKES! Oh yeah, I forgot they are 31/32 and I only have a 1” and 7/8” drill bit. So I drilled them small and used my belt sander to remove enough of the wood to slide them into the hole, not mess up the angle and allow for some glue.
The legs slide in very nice, and the stools are level. But one more step. I must install the cross braces between the legs. With the legs in the seat holes and standing upright on my work bench I placed a piece of wood against the leg on the outside and the used a small carpenters square to find center and drew a vertical line. I then cut a piece of wood at 4”, placed it against the inside of the leg and drew a vertical line. Now I have a spot to drill the hole for one cross brace. I repeat this process 2” higher and on the other side of the legs to create the second set of braces. Ok so now I have 4 braces and ready to assemble.
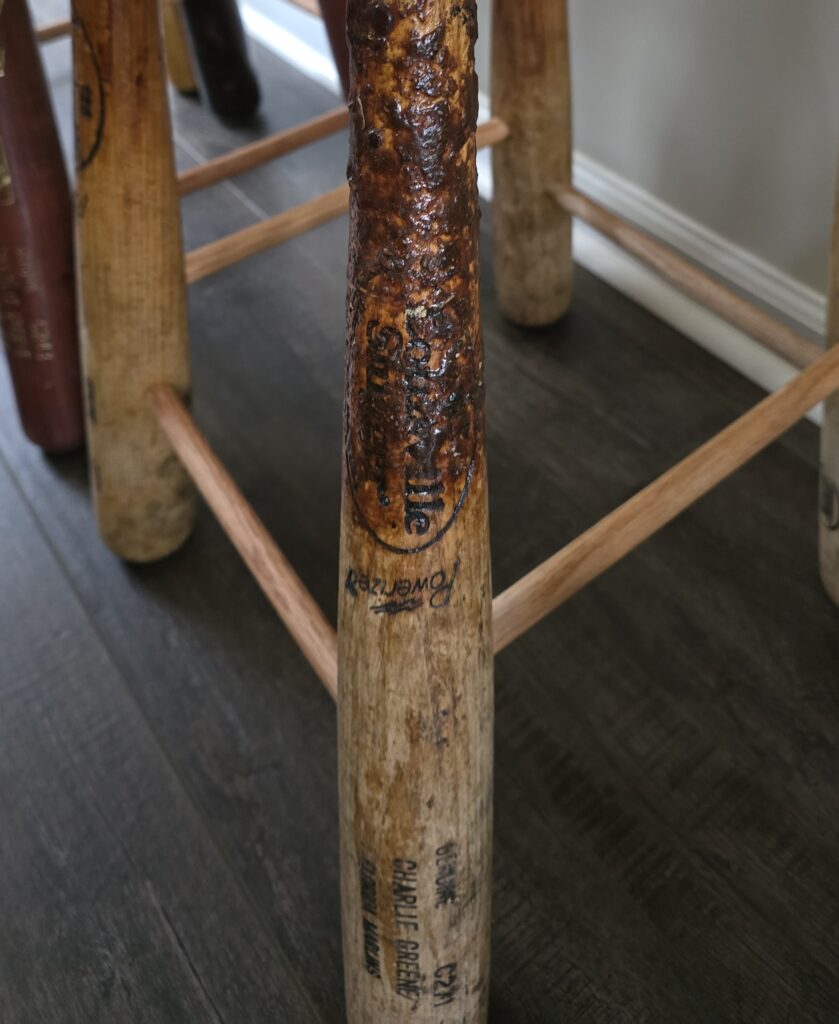
I decided to use one more feature to strengthen and secure the legs. I used the band saw to cut a slot at the top of the bat/leg. Once glued and installed into the seat, I tapped a wedge of wood, similar to an ax head, into that slot on the bat/leg to secure it.
Glued and secured the cross braces and stood the stool up. Almost done! Once the glue dried I used a Japanese pull saw to trim the protruding part of the leg. Ok, I am happy but one more thing to clean them up. I used that 7/8” Forstner bit to drill the top of the bats/legs out and glued and inserted a maple plug. Consistency!
Down – well almost
Time to apply finish to the seats
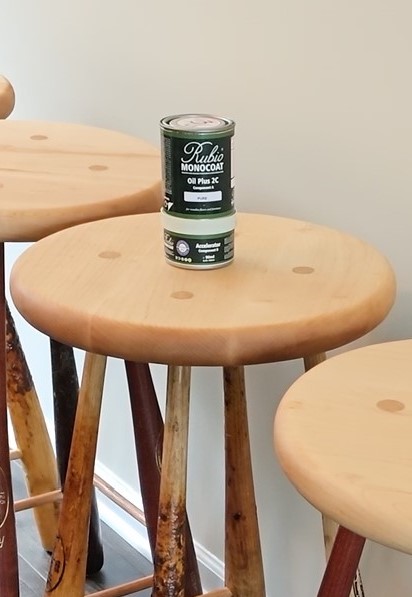
Time to finish sand, clean with mineral spirts and apply Rubio Monocoat Oil Plus 2CPure finish.
https://www.rubiomonocoatusa.com/collections/oil-plus-2c Now I am done! Whew
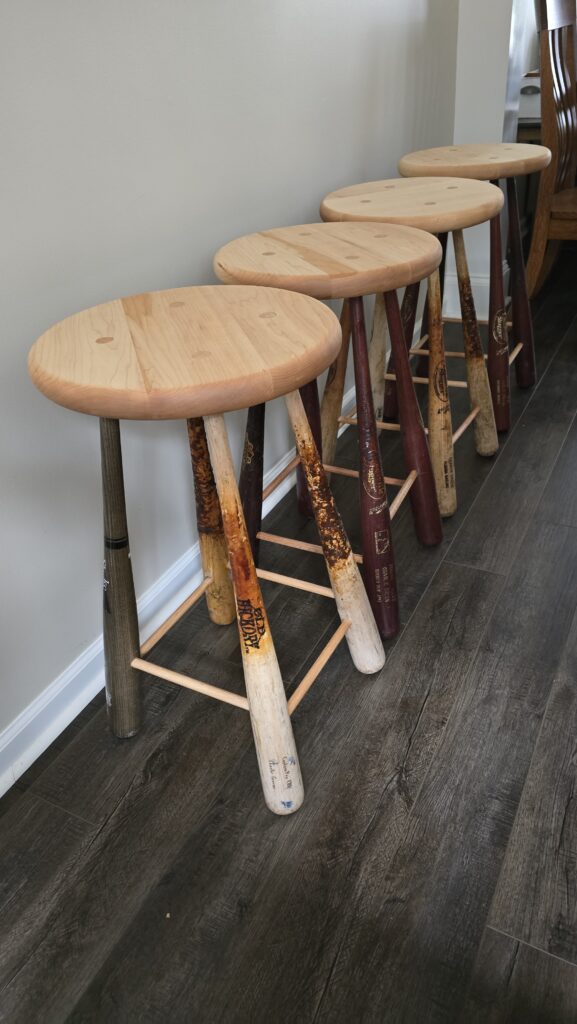
What a great project! I never know what God is going to bring my way. But I do my best to trust Him each time. Sometimes He uses my bride to talk me through the process.
Trust the process, Trust yourself and most importantly Trust God!
