Reclaimed Wood from Corn Crib
HOW TO DESIGN AND BUILD AN ENTRY WAY COAT RACK AND BENCH
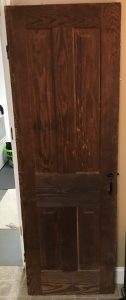
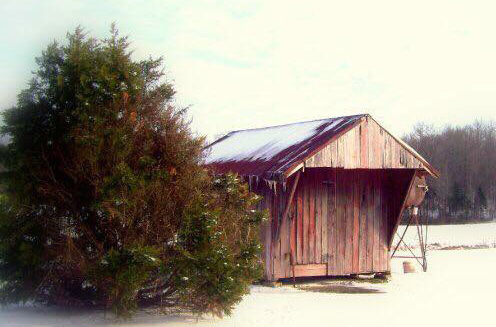
There was a door in granddad’s home the client wanted to preserve and wondered, if they provided the wood, could I build an entryway coat rack and bench using the door as part of the build. The wood they wanted to provide, well, that was from the family owned Tennessee corn crib that had been torn down and they didn’t want to lose the wood or the memories. Not only was this a corncrib but it was eventually used by the great grandchildren as a play house.
So for the client there are as many memories in this build as there are colors.
THIS PROJECT TRULY DEFINES THE “CUSTOM” in BAYNE CUSTOM WOODWORKING.
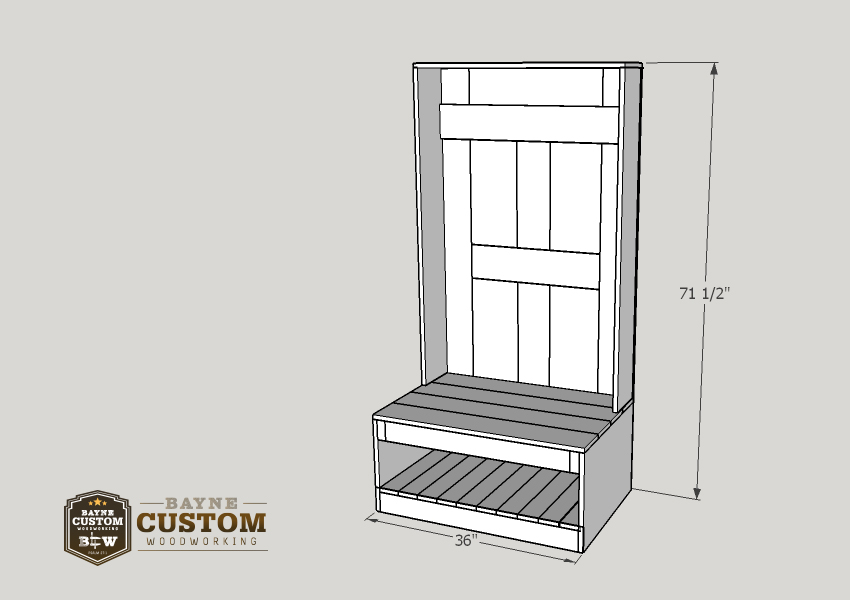
I spent some time to design a simple layout in @sketchup_official so the client could approve the idea I had in mind.
The wood showed up in two deliveries so we stacked it outside because this was the first time I worked with barn wood. I did not want to introduce possible termites to my shop. So my first call was to my pest guy asking how I would treat the wood for termites. Much to my relief he said I had nothing to worry about.
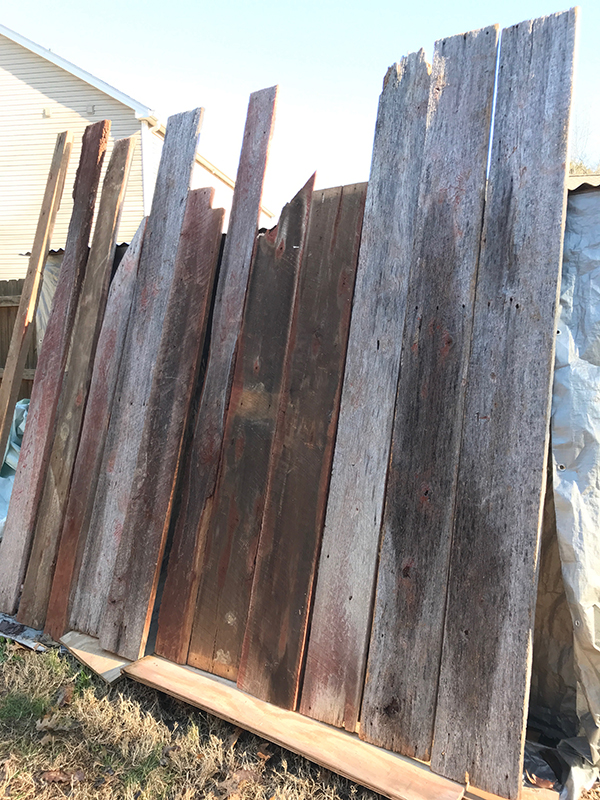
This was “real” wood! Not nominal at all, nominal is how we buy our wood at a local hardware store. Where a 2×4 is actually 1 ½ x 3 ½ . These 2×4’s were at least 2”x4”’s if not more and were hard, heavy and dusty, did I say heavy?
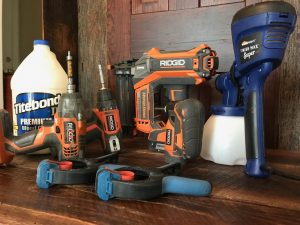
After cutting to length on my handy @DewaltTough miter saw, I had to take them to my @ridgidpowertools table saw and square up the bottoms only. I was very careful not to lose any of the original saw marks and character because that would ruin the entire purpose. For someone who likes clean, crisp edges, this was a bit of a challenge.
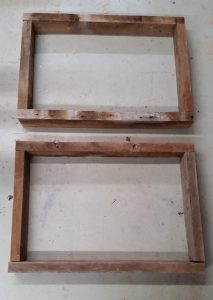
I used @kregjig Kreg Jig® K4 Master System to join all the pieces of the base, the seat frame and the supports to join the two together. I was very careful to hide all of the pocket holes so they could not be seen from any angle. I used Titebond Products original interior wood glue to join all the pieces together.
The next item was to assemble the back which included grandad’s door as the center piece. The door was only 71 ½ tall which determined the overall height of the project. Part of this back also includes two live edge pieces that we picked to use as the “L” shaped wings or side walls.
The door measured 24” which left me with 6” on each side to make up the final size of 36”.
So I chose two of the straightest boards that were closest to 6” and cut them to width so as not to waste any wood or lose any character. I used the Kreg Jig® K4 Master System to create pocket holes in the back of these pieces in order to join them to the live edge pieces mentioned below. Then I took those two pieces with the live edge and placed them on each side of the base/seat unit with the live edge facing out and toward the front. I secured them to the cut edge of the back pieces mentioned above using the pocket hoes and Titebond original interior wood glue.
I then had an “L” shaped piece to secure on each back corner of base/seat unit. I secured these to the back with screws (so I could take them off for delivery later) making sure to be as tight as possible each back corner of the base/seat unit.
Now was time for the true test. Would the door fit? Slide it in and breathe a sigh of relief as it was as tight as it would ever be with very old barn wood. “Perfect.”
The door was only ¾ thick which not only made for an interesting find, but easier to work with because it was solid and not as heavy as a thicker door.
Because I did not want to put any screws or nails through this door, I took 2 pieces of the 1 x 6 board and secured them across the entire back from side to side and secured them to them back of the “L” shaped pieces mentioned above (with screws for moving the unit). This secured the door tight from the back.
Then I went to the front and they wanted a board attached for coat hooks to hang coats, hats and scarfs. So I took the same type of board and attached it to the front of those “L” shaped boards which tightened up that door from the front.
The side walls went on easy and only took one board and I was careful to make sure to keep the gray of the weather wood out. Thank goodness for my ridgidpowertools 18 gauge nailer. A bit more @titebond glue and these are all set.
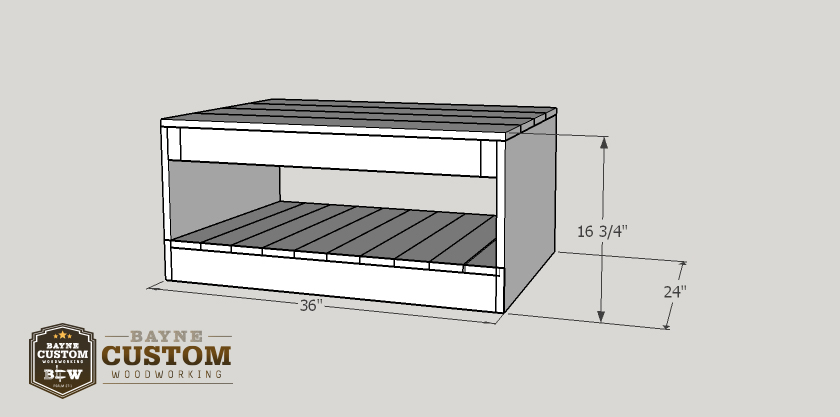
Inserting the pieces for the shoe shelf on the bottom went easily and quick.
Time to custom fit the seat boards. I was limited to wood at this point so I need to be careful with cuts and not waste any wood.
The first cut for the seat was a custom because it had to fit in the back and have angled cuts to fit the side wings I used above. UI used a piece of plywood to create a template to make sure the angles were correct because I could not afford to make a mistake and lose any wood.
The middle piece went in easy but then I needed a last piece for the board where someone’s legs would be. I found another live edge piece that worked perfect giving somewhat of a round over edge similar to the front edge of a chair.
Nailed and glued and the seat is all set.
Last but not least is the top shelf. The customer has provided one 36” x 8” x 1” board. I left all the rough ends as they were and it fit perfect. I put one nailer on the inside and at the top and one on the back at the top. This allowed me to secure the top shelf to these nailers and tie everything together.
Finishing with HOMERIGHT’s Sprayer and Spray Shelter
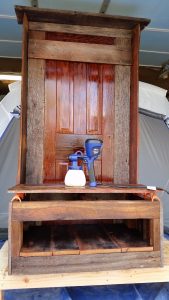 After locating a great article located on HomeRight’s site I used advice from Scott at Saws on Skates to mix Polyurethane with paint thinner in order to spray my project.
I used the blue tip provided with the Super Finish Max Sprayer and closed the spray volume to its lowest volume and then adjusted it until I found the flow I need to not only cover the barn wood, but also the door. Both needed a different setting to get the proper coating. I applied 2 coats of the thinned mixture, allowing the barn wood to absorb what it wanted and then used 2 more coats of poly with only enough paint thinner to allow good flow. I may not have needed to thin these last 2 coats out, but I wanted to experiment.
Not only was the application easier than expected, cleanup was a breeze.
On a side note, while the project was taller than the Homeright Large Spray Shelter, I still used it as a barrier to protect the over spray from going into the rest of my shop.
Along the way I had quite a bit of help from Homeright, Ridgid powertools, Titebond, Rockler Bandy clamp and the aforementioned Kreg Jig®.
