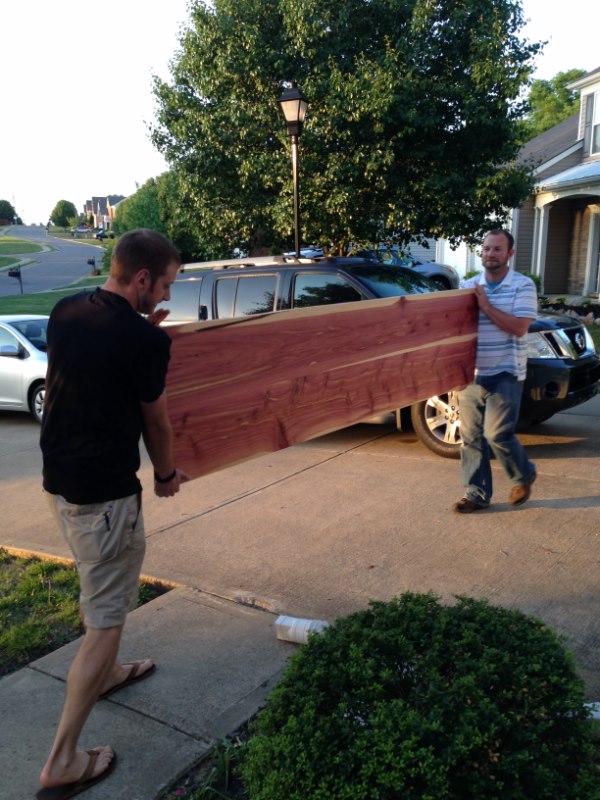
There is no real mystery to floating shelves. You need something attached to the wall with supports that the actual shelf will slide into hiding the support attached to the wall. Or you can use that support as part of the shelf. Here is how I did it.
Disclaimer up front:
I purchased a Festool domino 700 for the purpose of building tables. So I decided to expand my horizons and use it to create floating shelves. While this build will use this tool, I will suggest another option at the end of this post. The principles will apply to both this main option and the one at the bottom.
Because I am using the 700, I am using the 12mm x 90 Domino for great support and extension into the wood. I have used 2” cedar but for this post I will use 1×8 pine purchased at a brick front store.
Step 1: Find a stud in your wall
To start it is very important that you know where at least one stud is located in your wall. I use Zircon StudSensor HD55 that can be purchased at Home Depot with the link on right side bar.
Knowing where the stud (s) will determine where your domino holes will be placed. In my case I know my stud is 8” from the left end of where I will be installing the shelf.
Because I only have one stud in this range, I will use wall anchors for the other two wall connectors.
Step 2: How to know where to place the dominos
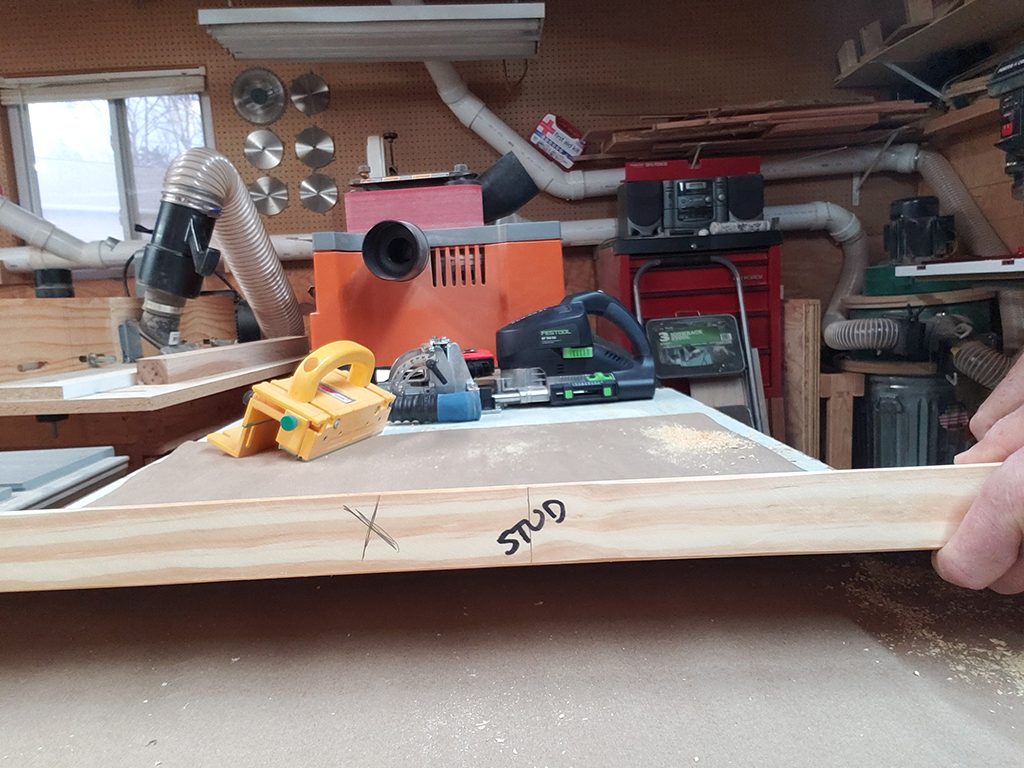
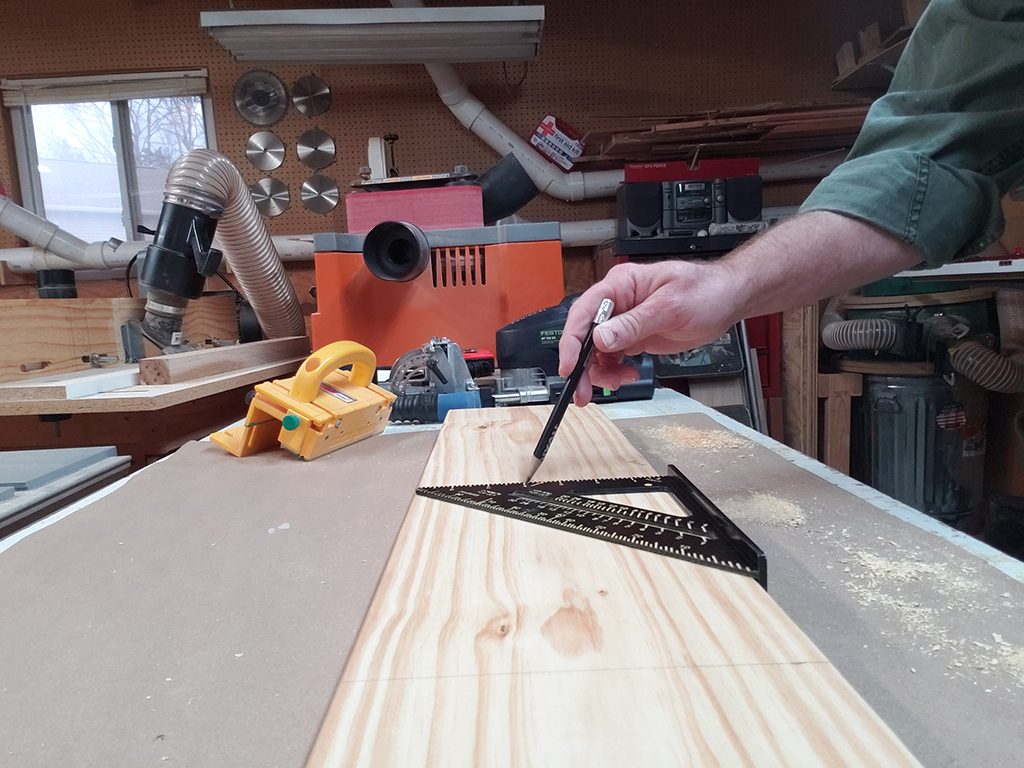
Now that you know where your stud is you can determine where your dominos will be located. I used 3 dominos with the center one being normal size and the other 2 being 3mm wider. This allows for a slight bit of movement for minor adjustments when installing. Because my stud is 8” from the left of where I want to place the shelf I am placing one domino in the center and 1 each 4” from each end. I use my speed square to mark a line entirely across the wood for reference.
Step 3: Setting the holes with the Festool
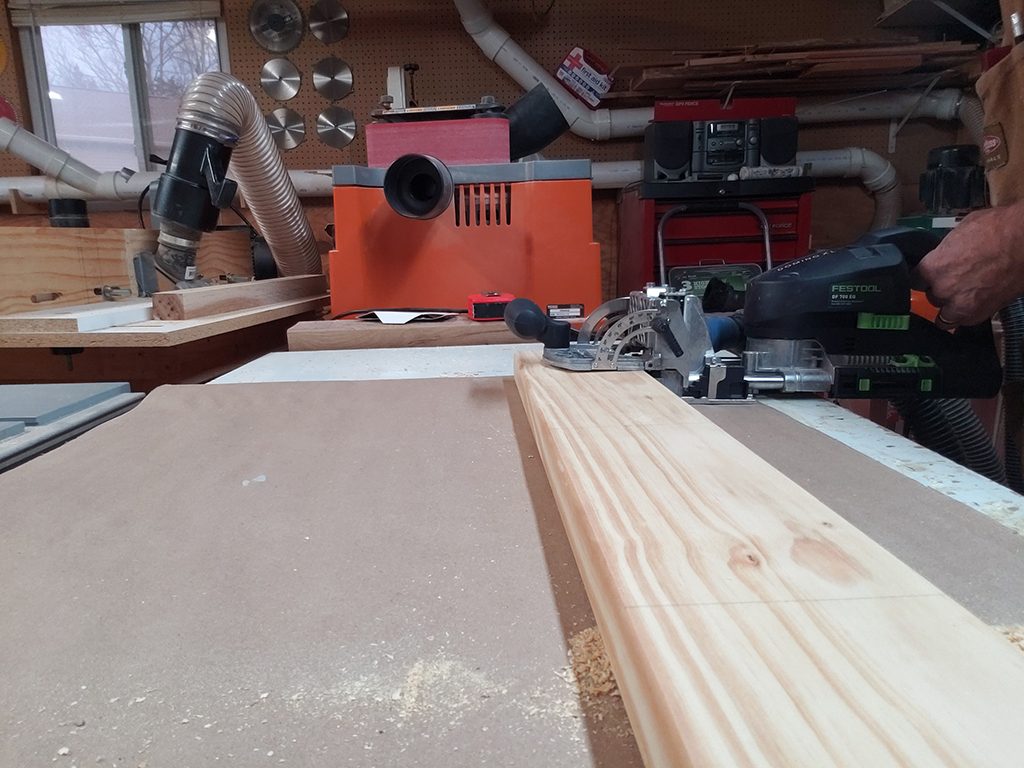
I set the Festool 700 to 70mm depth and height to 26mm and cut all three holes from the back of the shelf.
Step 4: Ripping the shelf
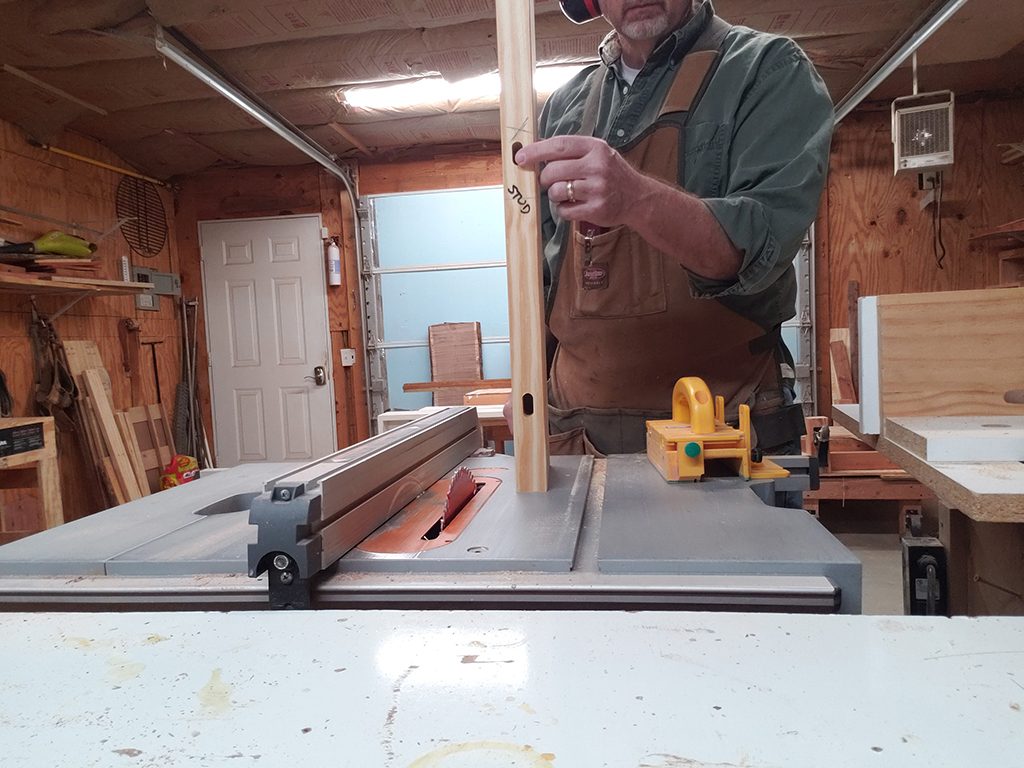
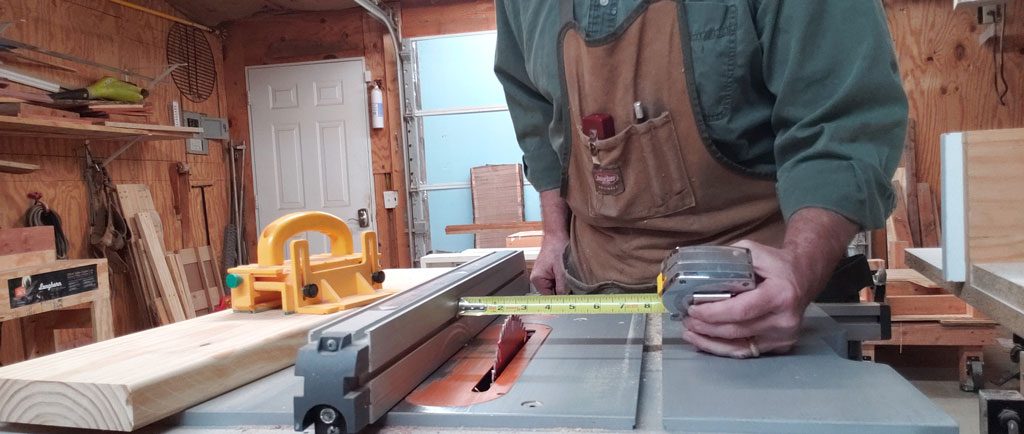
Take the shelf to the table saw and setting your rip fence at 2 ½” and rip the back of the shelf off. You will end up with a board 1 ½” x 2 ½” x the length of your shelf with holes all the way through the back. This is the piece you will attach to the wall.
These boards will go back together exactly as you ripped them so I always put a letter or a number on the insides for both boards and make sure they cover each other when I put them back together.
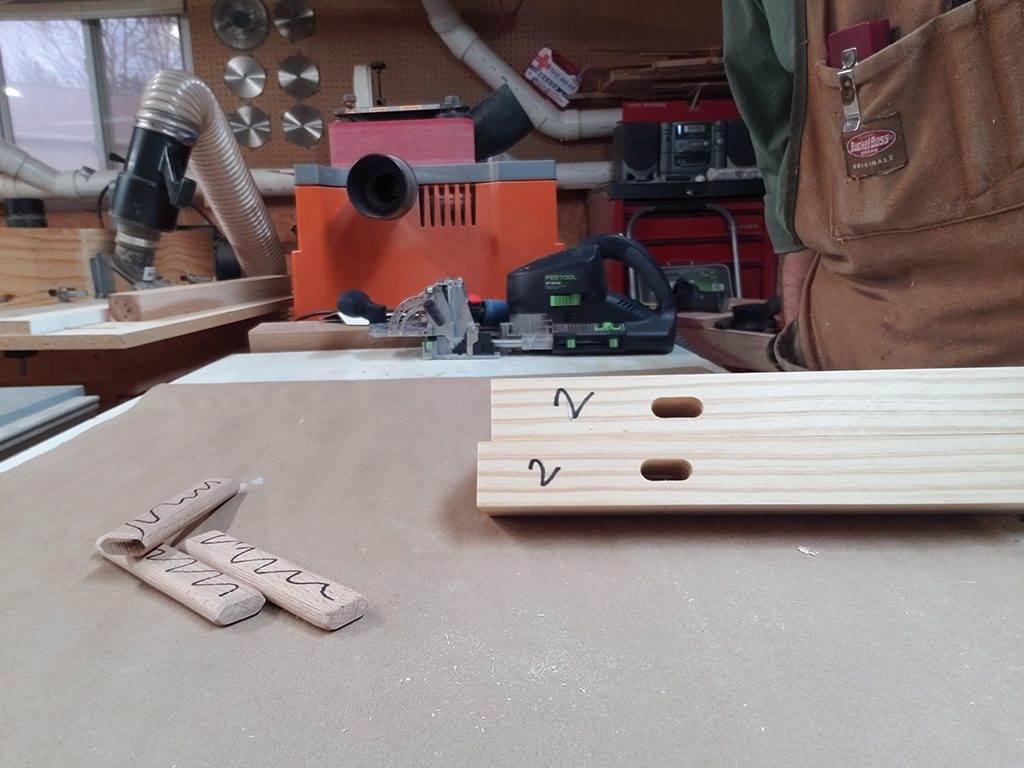
Step 5: Second set of holes
Take the left over piece, which is the front of your shelf, and cut the domino holes again using the marks from step 2. This will place a domino hole 70mm or about 2 ½” into the front of your shelf.
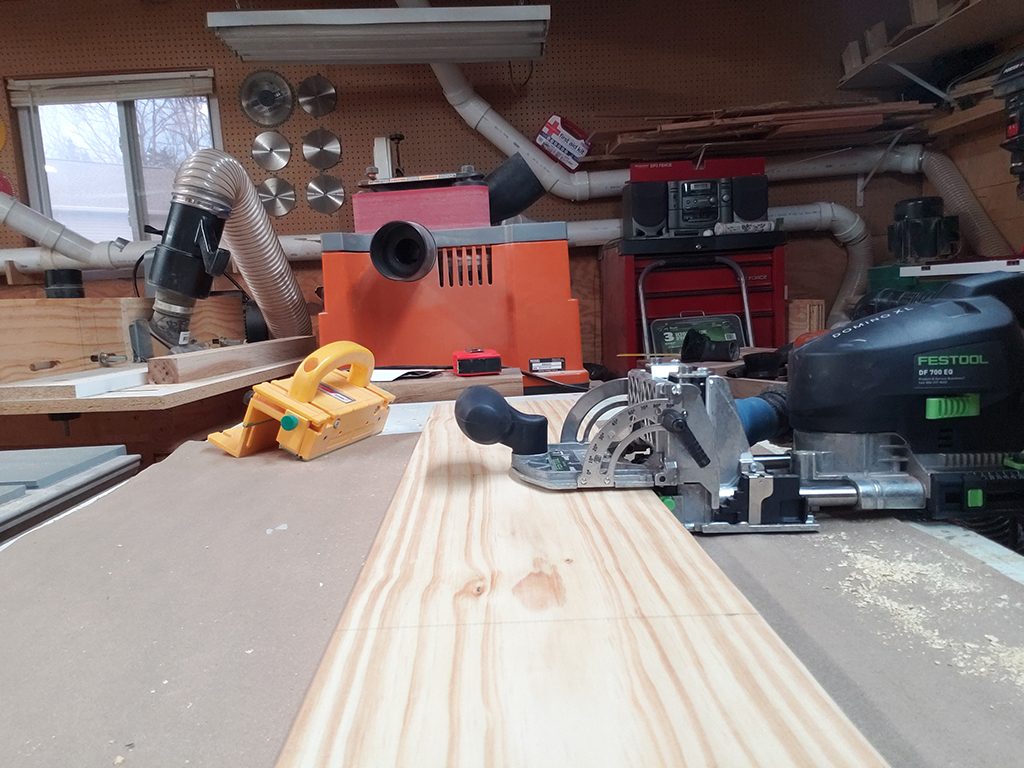
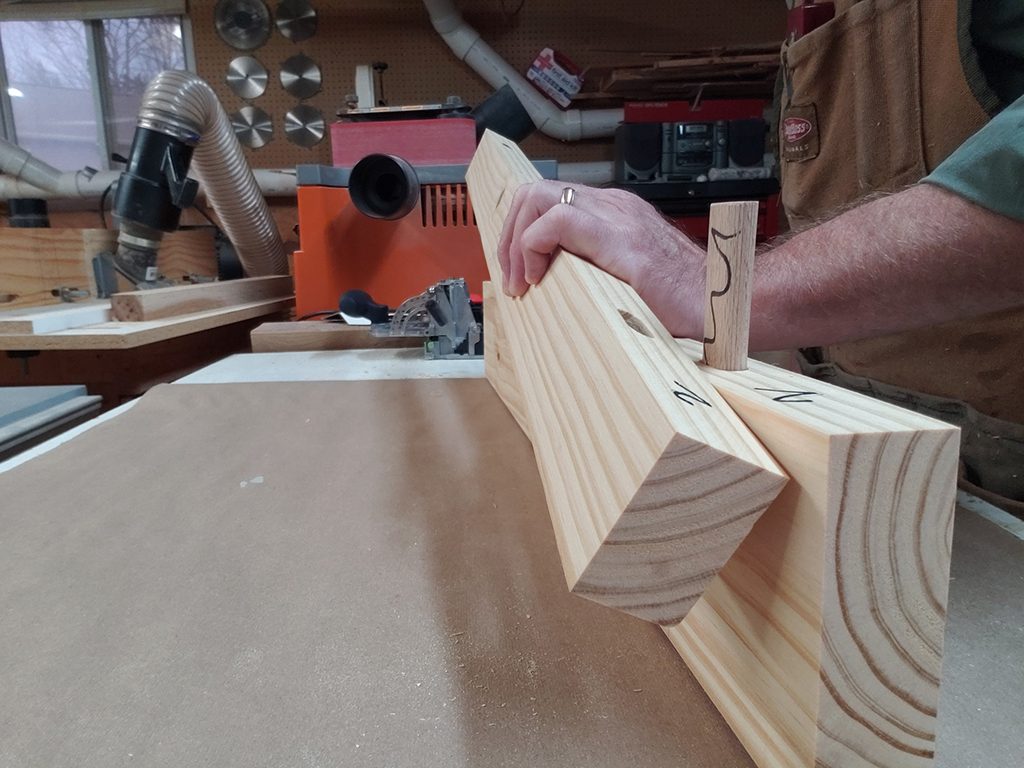
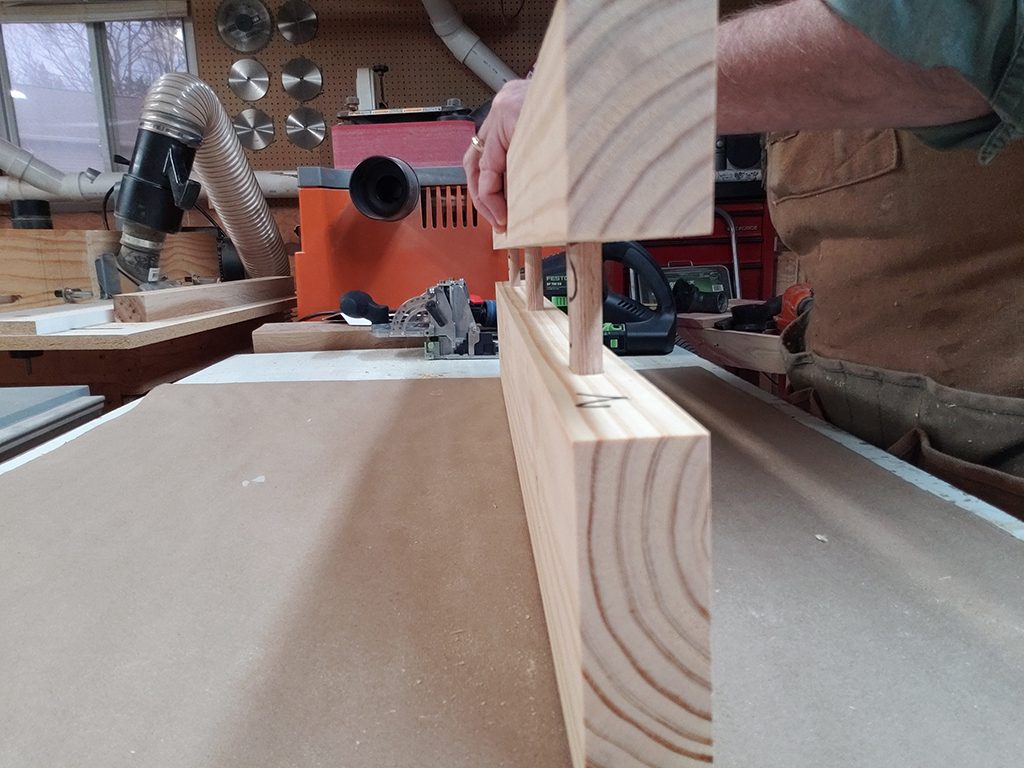
Step 6: Prepping for wall
Back to the back of the shelf or the portion that will be fastened to the wall. Using the measurement from step 1 where you located your stud, find that placement on the board and drill a hole larger than the head of the screw that will go into the stud and the wall anchors. I use a forstner bit and using my drill press, drill 1 ½” into the board. Making sure the number from step 4 is facing me. Then I use the drill press and drill the rest of the way through the board with a smaller drill as pilot holes for the screws. You should now be able to look through the domino and the screw holes.
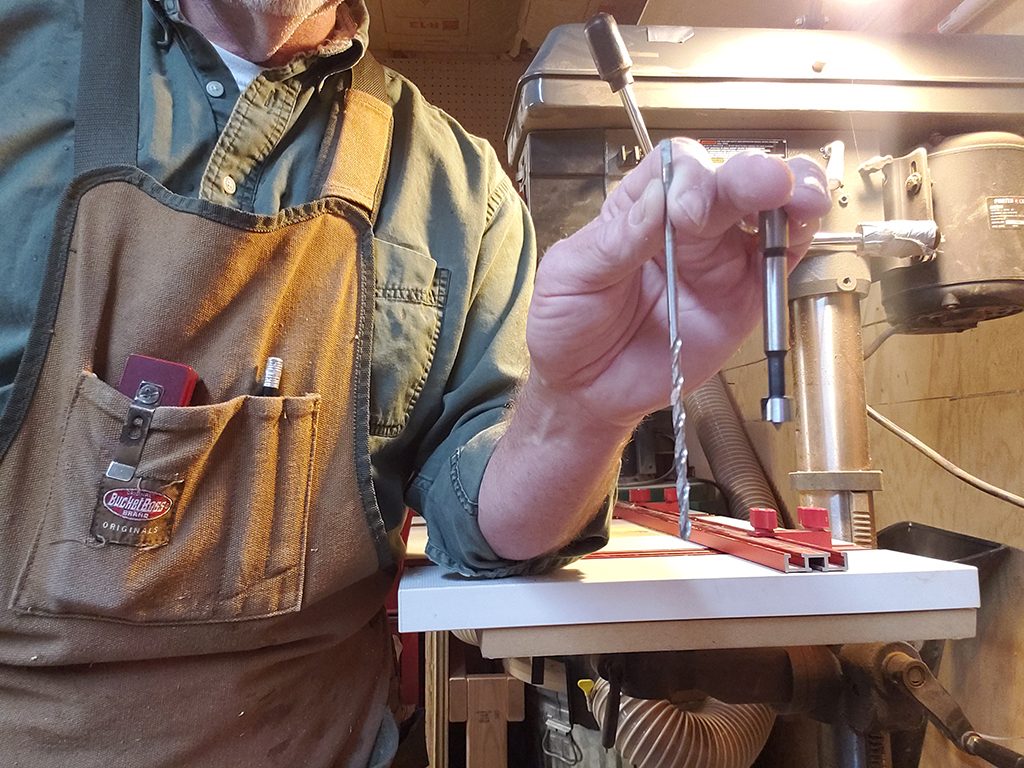
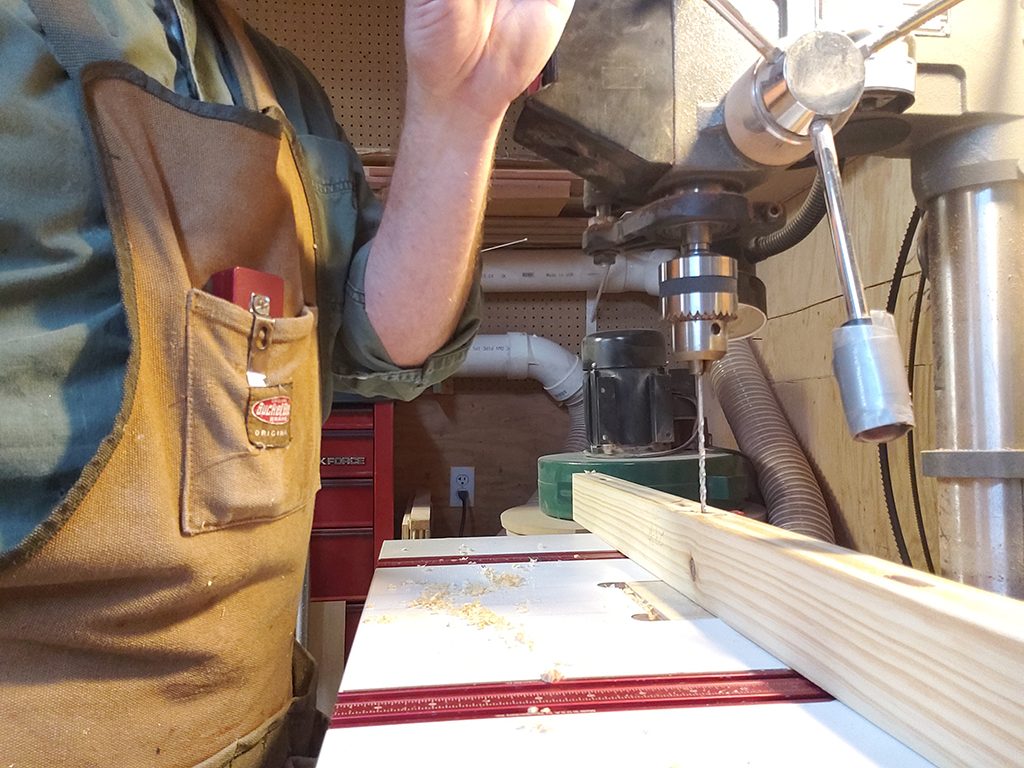
Step 7: Marking the wall for the floating shelf
Take the board back to the location where you want to mount the shelf. Using a torpedo level make sure the board is level and using a long nail/screw driver, whatever to mark through the holes and into the sheet rock.
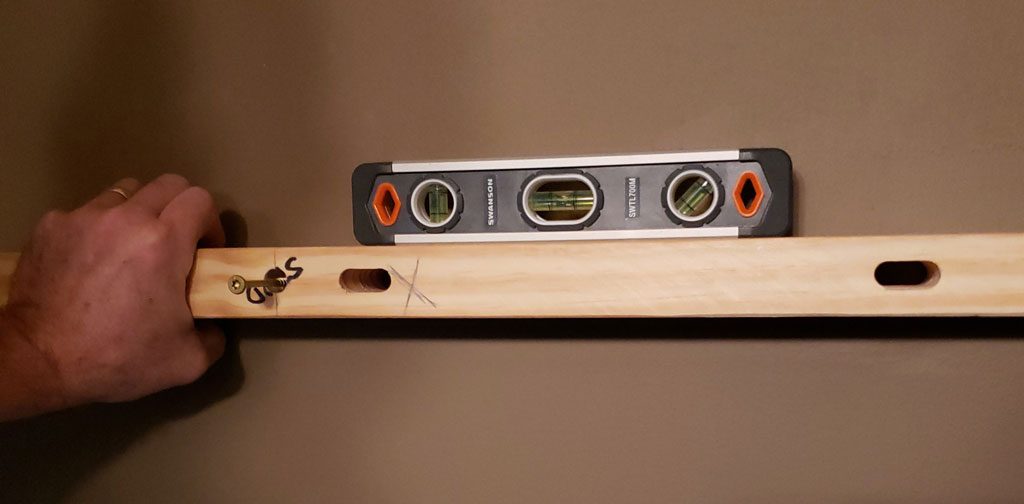
Step 8: Securing the back part of the shelf
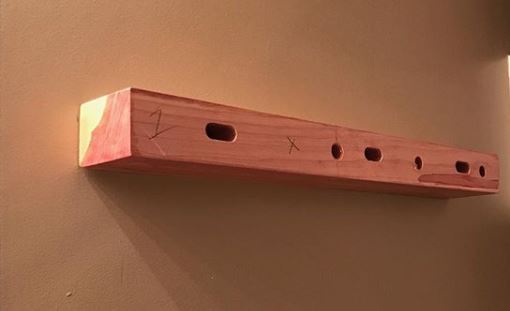
Insert the wall anchors and make sure the heads recess into the sheet or else your shelf will not be flush with the wall. (This is the other shelf we did, sorry we forgot to take a photo of this step! oops!)
Step 9: Ready to hang the shelf back
Put all the screws into the board holes and make sure they protrude from the board just enough to help you find the anchors and pilot holes. Set the board against the wall and feel for those screws to enter the anchors and the pilot hole for the stud screw. Secure the stud screw and then the anchor screws All the while making sure you are level.
Once they are all secure, make sure you are level both length and width of the shelf. Make sure the shelf is as tight as possible to the wall without any wobble.
Step 10: Adding the dominos
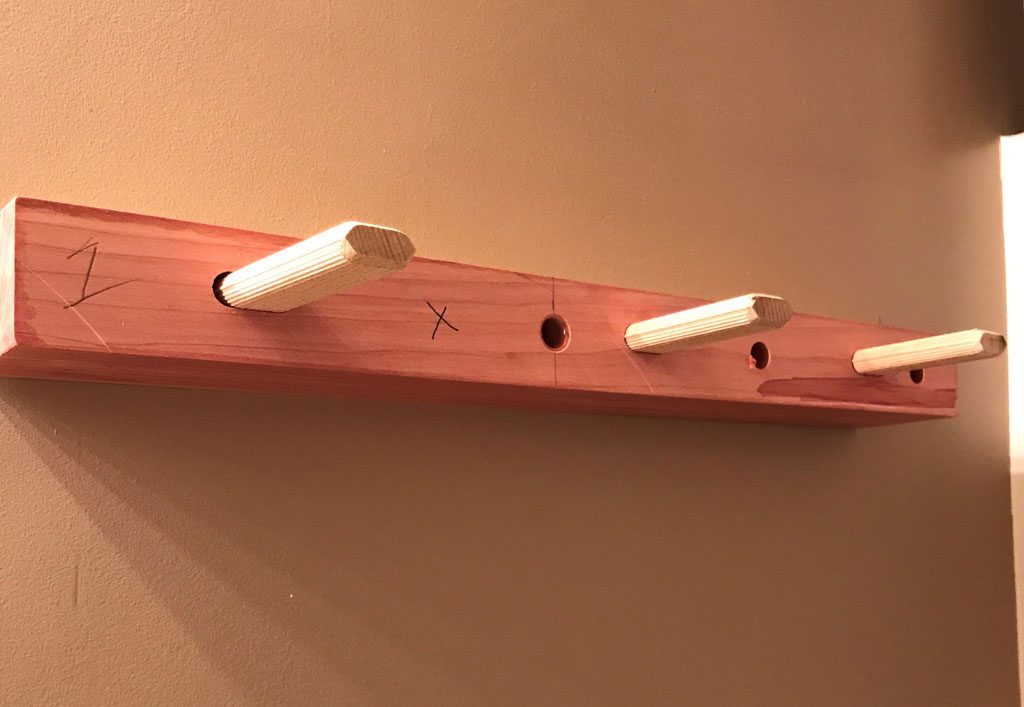
I have 3 dominos that I have sanded a bit thinner than normal ones in order to dry fit projects. I use these to test and dry fit the main shelf. Put them into the back board fastened to the wall and then slide on the front shelf. Make sure it goes all the way into the shelf. Remember those numbers or letters we put on the ripped pieces in step 4? Make sure the overlap each other here because it guarantees your boards are matching sides.
Step 11: Add the front of the shelf
If the shelf is level and the ends match, pull it apart carefully and using a mallet, insert the correct dominos into the back board and attach the front portion again. Complete!
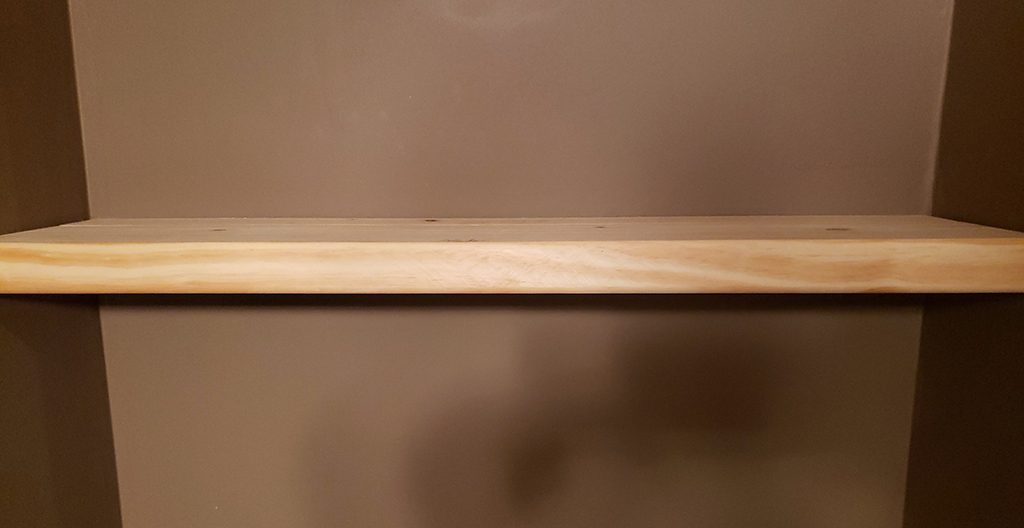
Here is the option I spoke of at the beginning.
You can use dowels to all of this if you do not have a Festool domino tool.
Accuracy will be the key when do it this way.
Because the Festool actually allows you to make your holes a bit wider for adjustments, you will have to make sure to either drill your holes perfectly or cut your shelf a bit long.
After step 6 above dry fit your board and if you are off just a bit, cut the ends flush. Now when you put it up your ends will match perfectly.
Enjoy your floating shelves
We’d love to see your finished project! Post it to Instagram and tag us @baynecustomwoodworking – Have fun!
Looking for more unique builds?
Subscribe to Bayne Custom Woodworking on YouTube We are posting videos from the shop on a regular basis. See what tools are in the shop and how they’re used for a variety of projects.
