The perfect gift for a little girl
Our second granddaughter is very, very tiny. When she was born she reminded me of a fragile tea cup so her nickname is “Teacup”. We needed something that matched her size and personality. She is in love with her babies therefore building a wooden doll stroller was a perfect gift for her.
Bayne Custom Woodworking is a participant in the Amazon Services LLC Associates Program, an affiliate advertising program designed to provide a means for sites to earn advertising fees by advertising and linking to Amazon.
Starting with plans from Ana White
Ana White plans have worked well in the past for me and I figured she would have something to use as a starting point for building a wooden doll stroller. Her baby stroller / pram plans were just what we needed.
Choosing the best wood for toys
Poplar is my favorite wood for toy builds because I get the lumber at a reasonable price from a rough cut lumber yard. But it also means that I have to do a little more work to get the correct widths that I need for projects.
For building a wooden doll stroller the plans called for plywood which comes in much wider sections but because I’m using poplar, I needed to piece together 2 pieces in order to get the correct width.
First, I cut the 2 sections of poplar to length. Then I used pocket holes to attach them and give me the width I needed.
Transferring the plans to the wood
After drawing out all the straight lines, we used a flexible ruler to draw the curve and connect the top and bottom points.
There are a number of things I use in the shop when it comes to curves including my imagination. I have been known to use buckets, coffee cans, soda cans, etc. This wooden doll stroller gave me plenty of opportunities to use all my options!
Cutting the pieces
To cut the sides, I used my Grizzly band saw. I cut on the outside of the lines. Then clean them up with my @ridgidpowertools oscillating sander.
To cut the width of the final pieces of the wooden doll stroller I used my @ridgidpowertools table saw. I then used the same saw to cut the angles needed for the foot and head piece. These angles allow the pieces to fit the bottom properly.
The doll stroller handles were cut to length. Then I had to figured out where to drill the handle holes on the upright pieces of the stroller base. I clamped them together and used my drill press with the 1” forstner bit to drill the holes for the handles.
Smoothing edges with a round over bit and hand sanding
When all the pieces were cut and sanded I used my router table with a round over bit to round over all the edges. I then hand sanded all of the edges as well. I want all edges of this doll stroller to be as smooth as possible.
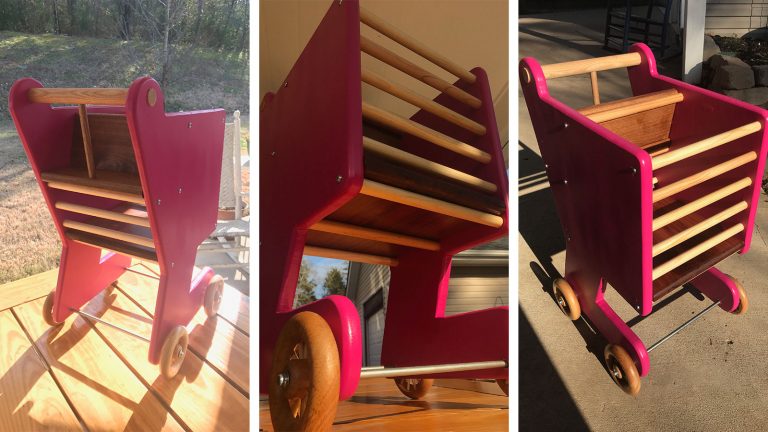
Because I used pocket holes to join the wood I needed to fill them with wood putty in order to paint. I let these dry and sanded them and then refilled the ones that needed it. See the post about the Grocery cart to see why I switched to filling these with 3/8” dowels.
Finishing
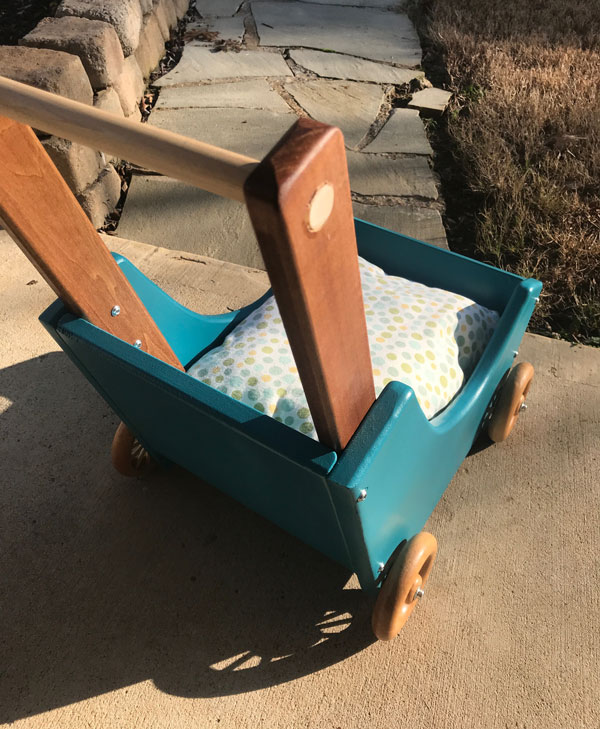
We decided to paint the body, stain the base, foot and head boards as well as the handles. I then applied polyurethane to the stained parts. We did this to this to give accents of each piece.
After applying Kilz primer to the sides of the doll stroller I used Behr acrylic satin paint. I stained the base, foot and head boards as well as the handles with Minwax English Chestnut. Once it dried I applied the polyurethane.
The final step is to use a clear spray acrylic over the entire toy. I’ve found this gives the paint more durability. The toys I built four years ago still look great because I used this final step!
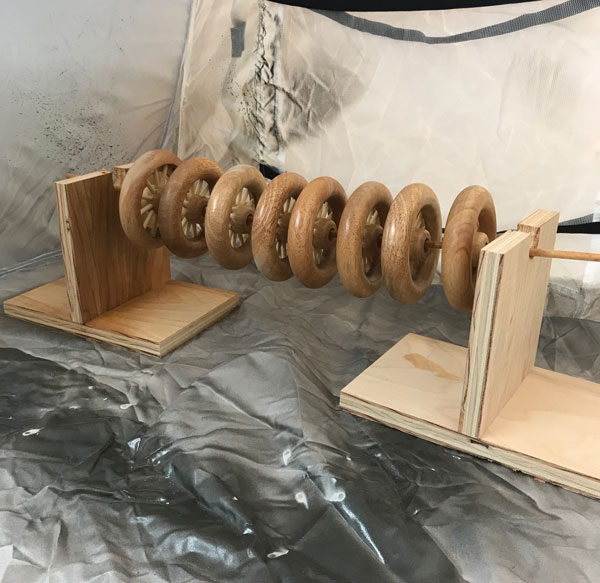
The wheels
I found wooden spoke wheels at Woodworks LTD. They worked perfectly for this wooden doll stroller. I used 3/8” aluminum rods with hub caps purchased at Home Depot to hold the wheels to the cart. My hammer secured the first hub cap. I sprayed them with my Homeright Sprayer and a little MacGyver ingenuity. Check out the video here.
I placed a wheel next to the hub cap and then a washer between the wheel and the cart, then slid the axle through the cart and added the washer and then the wheel and placed a mark for length. My jig saw, with a metal cutting blade, made quick work of trimming the axle to length. With the assembled axle and wheels and turning the cart on its side, I used my hammer to tap the second axle cap on the axle. I repeated the process for the second axle and finished the grocery cart.
Final pieces
My wife made the cushion and blanket to finish this special gift. The baby dolls need to stay warm in the stroller!
Little Tea was thrilled to open this latest project on Christmas Day! Nothing makes this grandpa happier than watching the kids play happily with toys I built for them specifically.
The next project we will post was perfect for our grandson! Stay tuned!