Building an Honor Flag Display Case
Adding the word custom to your business name is something I do not take lightly. So when someone asks for something special, like building a Honor Flag Display Case, I do my best to make their vision a reality. And when the request is presented by your oldest niece to create this display case to display the flag of her husband’s great grandfather, it’s even more special!
Finding the right wood
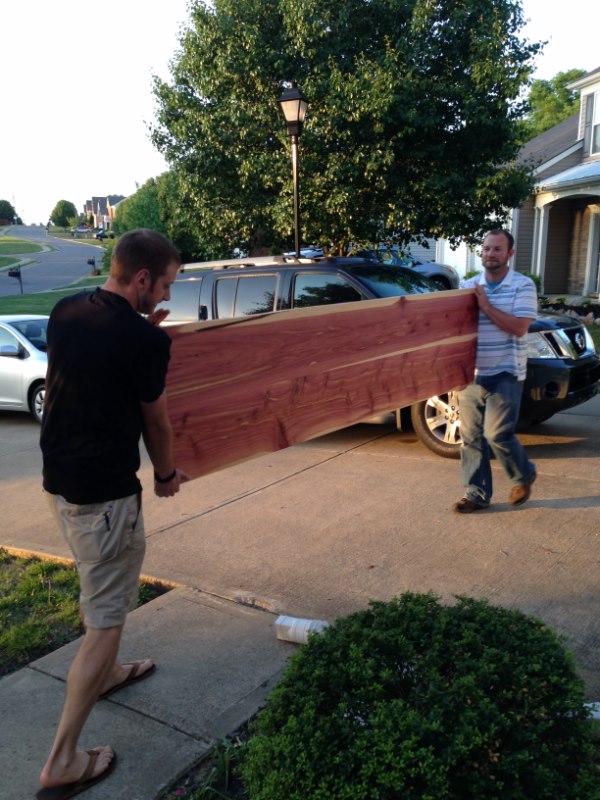
Unbeknownst to me this display case project actually started back in 2018 during a trip I made to my daughter’s home in Indiana. It was there I discovered my son-in-law had been working with a friend to cut trees in the local area. Some of the trees being cut were beautiful black walnut and he offered some of that wood to me to use.
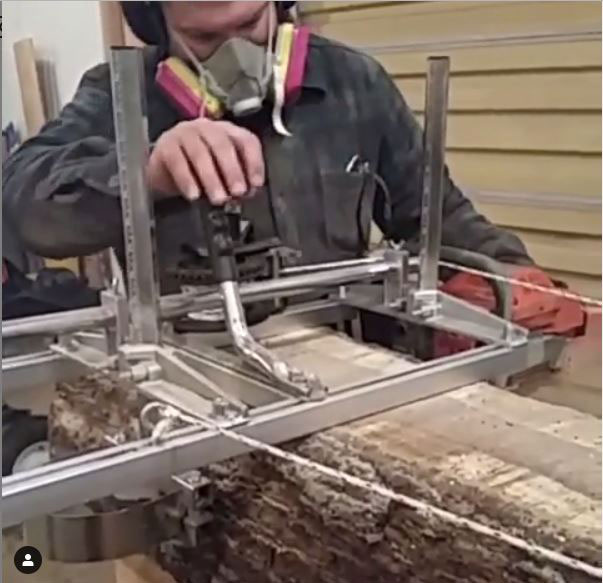
Alaskan Saw Mill
I had never worked with this wood but was willing to give it a try. So we cut the logs into slabs using his Alaskan Saw Mill. And we returned to Tennessee with these slabs on the back seat of my wife’s car. Once in the shop the slabs were added to the wood pile to dry and wait for just the right project.
Just the right project!
Jump ahead almost a year to another nieces wedding and the family gathering together. It was at this wedding that my niece pulled me aside and asked me if I could build an honor flag display case for a flag she had discovered in her closet. Apparently it was her husband’s great-grandfather’s flag and she knew it needed the place of proper respect on their mantel.
Drying wood properly
The supply of wood in my shop contained Oak, Poplar, Hickory and Cedar. Hickory has been drying for some time, but they didn’t seem to fit the build for this special display case. Then I remembered that Black Walnut I brought back from Indiana. This slab was about 3” inches thick and taking quite some time to dry. The moisture level needed to be down to the 7-8% to work with. So, having the understanding wife I do, the slab found a place to dry in the house. It sat in the living room for about 30 days until I was happy with the results of the air drying. Check out this post on drying your wood.

The plans
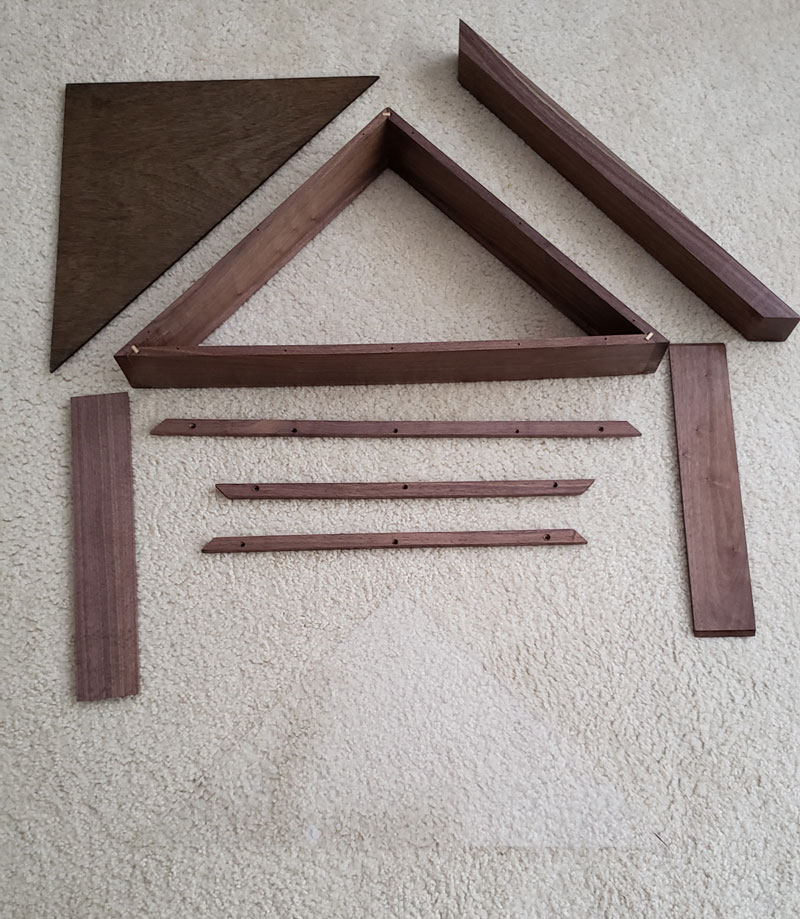
With the slab dry and ready to work, I found some great plans on Wood Magazine website. These plans were a bit unconventional as they called for 45 degree angles. Usually a 22.5 degree angles are used.
The process was simple, mill the slab from 3 thick to ½” but keeping the 3 ½” for width that will make up the sides.
Preparing the wood
This project started with the Grizzly band saw to make the initial pieces. Watch the process here. Important Note: always use a high quality mask when using walnut.
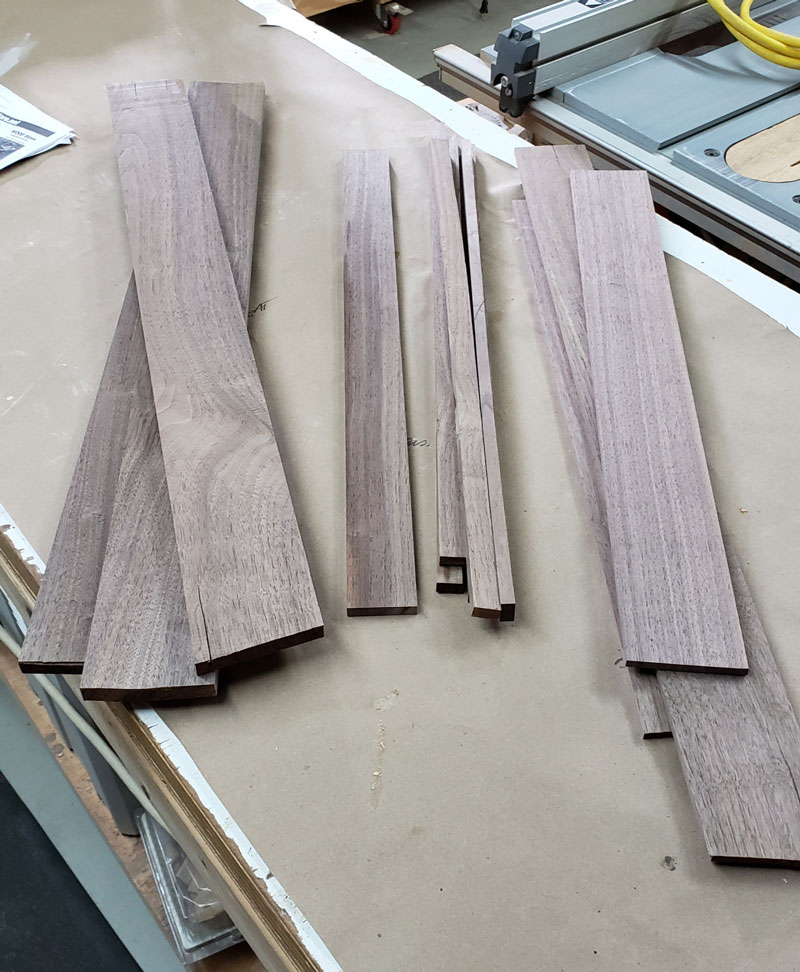
The Porter Cable jointer was used next to even the sides. Then I moved to the Ridgid table saw to get the proper width. Finally the band saw gave me the proper thickness I needed. Although the slab was 3” thick to begin with, I needed a thickness of ½” finished thickness and 3 ½” width. This is why woodworkers need so many tools!
Holding an odd shape together can be tricky but these Bessey Clamps worked perfectly and were easy to use.

Not all flags are the same!
The project was complete. I was ready to begin to apply the finish to the display case. But would the flag fit? I built it to specs but then again, without the flag I could not be sure. So I asked to have the flag shipped to me here in Tennessee and I waited.
It arrived and I excitedly opened the package to get it into the display case. But when I opened the box, it looked smaller than the display case I built. After some research I found there could be 2 sizes. A 5’X9.5 and a 3×5 flag and this were the smaller of the flags.
The solution
What to do to make it fit in the display case and not have to rebuild what is already a beautiful creation. So, I turned to my artist/designer wife for wisdom. Her response, put a thicker bottom piece inside to raise the flag and fit in the box? As usual she had the wisdom that I needed.
I milled a new piece of black walnut that would fit into the bottom of the display case. It raised the flag to a proportion of the box. The new insert allowed the flag to fit without movement. No rebuilding needed!
Finishing
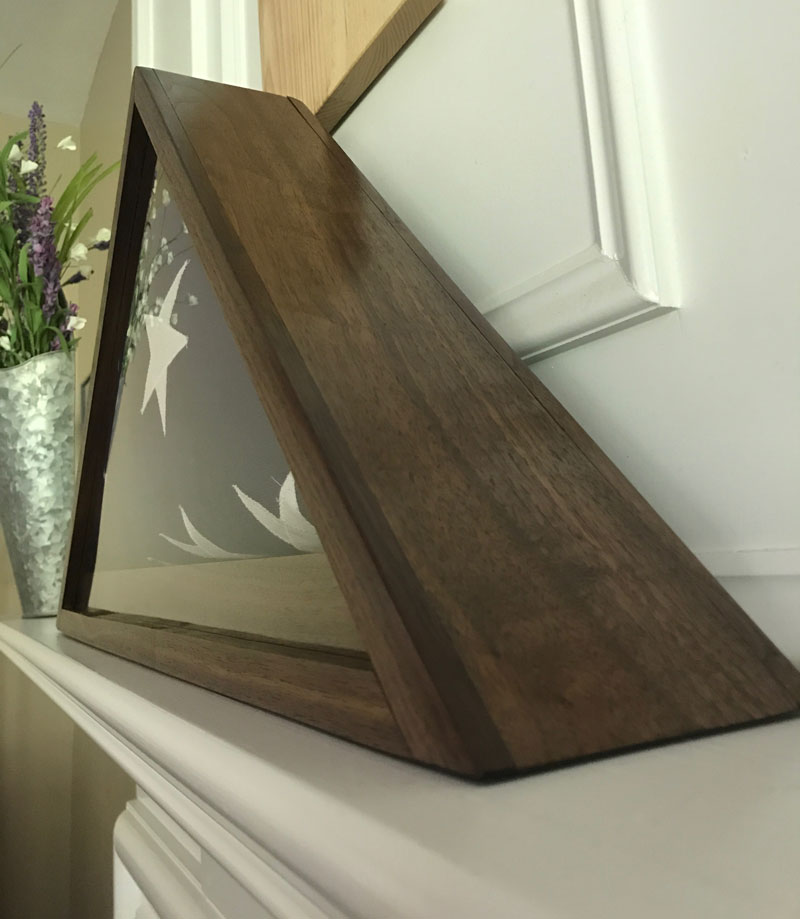
The next step was to finish it. The wood was beautiful without a stain. So we used our special hand mixed wiping polyurethane. I have been mixing poly for some 20 years with great success. It requires a total of five coats. Use pieces of an old t-shirt and 0000 steel wool in between. It makes it as smooth as glass. Click this link for the pdf with the mix and uses.
Plexiglass vs. Glass
Because we knew we had to ship this from Tennessee to New York, I used plexiglass for the front but built the back frame with the ability to remove it, the flag and the plexiglass in case the client wanted to replace it with actual glass.
Shipping a project
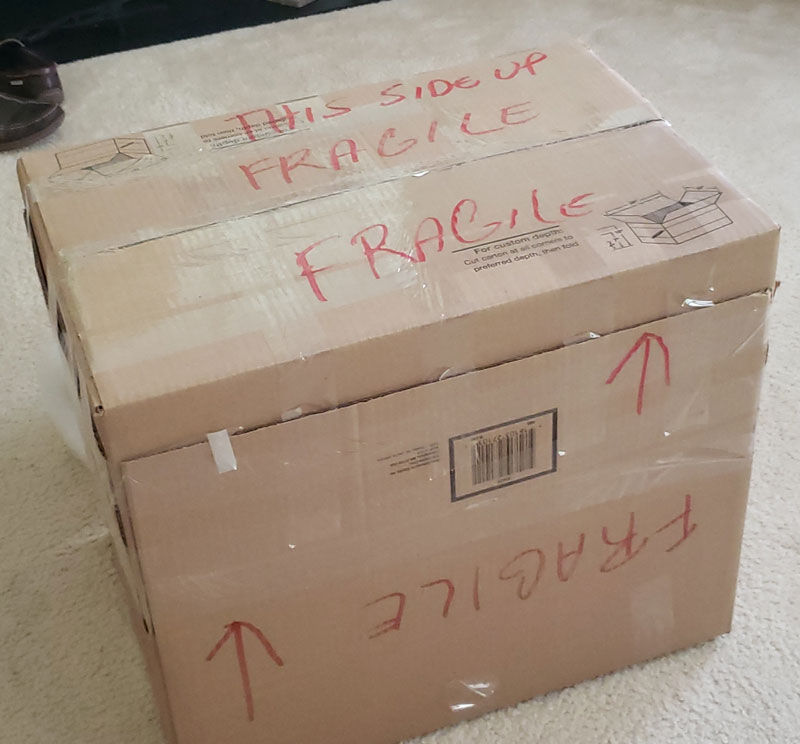
Now the next problem was to find a box for it to fit into in order to ship without damage. We tried multiple sources to find a box that was 26” long and approx. 14” tall. The box was either to large, too small, too thin or just not right. So we build our own custom box. Using bubble wrap and packing tape we wrapped and wrapped and wrapped. We took a couple of boxes and cut them down to form a new box. The finished box was secure, packed tight and ready for shipment.
BTW – wood is very expensive to ship. But FedEx stepped up and delivered the honor flag and display case safely and intact to its new owner for presentation.
We love a challenge
My wife and I love working on these types of custom projects. The opportunity to create a special family memory is the highlight of the last few months.
Do you need something unique made?
We’d be happy to speak to you about your project. Send us an email through our contact page and let’s chat!
Meanwhile be sure and follow us on Instagram to see what’s happening in the shop. We’d love to see you follow us on YouTube as well – be an early subscriber and watch me while I work!
