Covering wallpaper with faux ship-lap using sanded plywood
We finally had a weekend to get the spare bedroom updated. But it was sandwiched between two busy weeks so we needed the change to happen quickly. We had already decided to remove the wallpaper border and repaint the 3 yellow walls and ceiling but we just didn’t want to remove that full wall of wallpaper. After spending two hours plus removing the 12 inch border we knew we had to come up with a better solution for the wall.
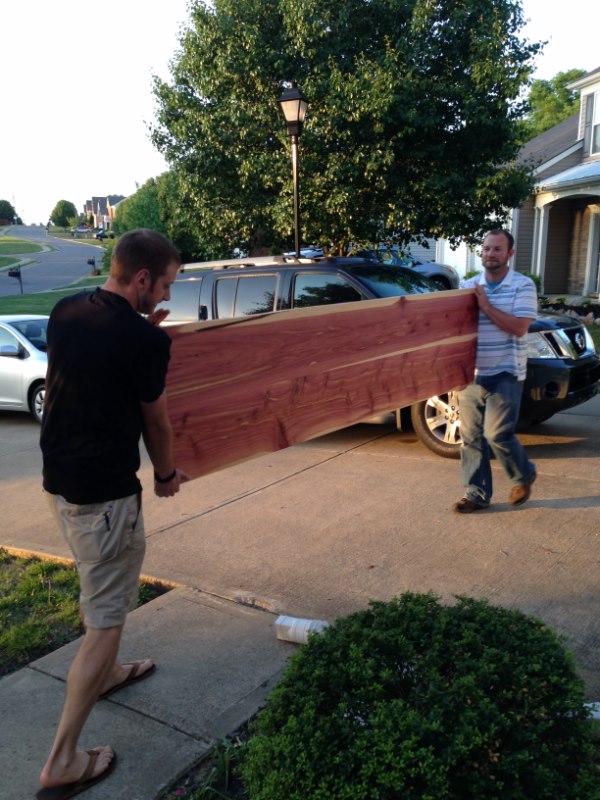
I had helped our son-in-law add ship-lap to their house in August, so we decided it would be a good solution in this room too. This was not a very expensive process and my shoulders appreciated not having the stress of removing the wallpaper.
We started by asking our local @HomeDepot to cut 1/2″ sanded plywood into 6″ strips. (TIP: I stopped in and gave them the order and paid for it a day before we needed it, so they could do it when they had time.) Once cut, we sanded one face using our @Supermax drum sander, but it would be easy enough to sand with an orbital sander. This will make it easier to clean the wall in the future and to avoid tiny slivers.

 Then I ran each piece through the router table with a round over bit in order to give the impression of actual ship-lap when mounted to the wall.
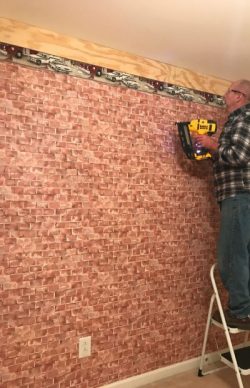
Because the wall was 10 feet and the boards are only 8 feet I located the studs with a stud finder and then determined the length to cut the first board in order to land in the center of a stud. I cut the first board to 88″ and the next one to 32″ for the first row. This room had an issue with the ceiling not being completely flat so I needed to use my 4′ level to start the first row straight.
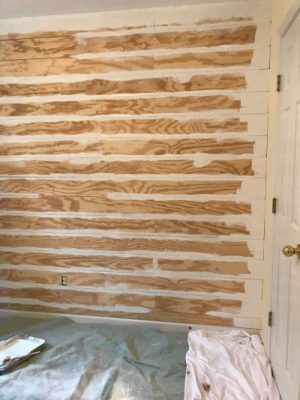
Once this was complete I started the first board of the second row from the opposite end allowing the seams to be at opposite ends of the wall. I was them able to rotate the seams all the way down the wall. I have a nice @dewalttough 16 gauge nail gun that worked very well to attach the boards to the wall.
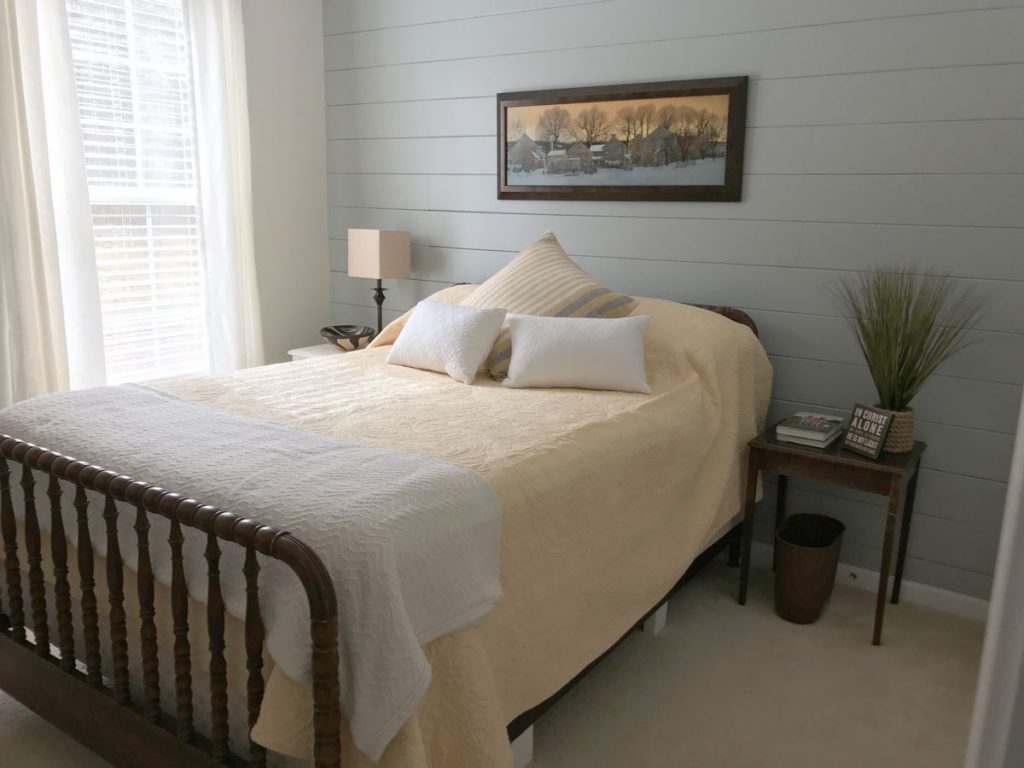
We then primed the faux ship-lap wall and painted it with a semi dark gray @BehrPaint. We painted the other three walls a lighter color to compliment our faux ship-lap accent wall.
This weekend project turned out better than we expected and we did it all for under $300. A quick fix for this spare bedroom. See final results below.