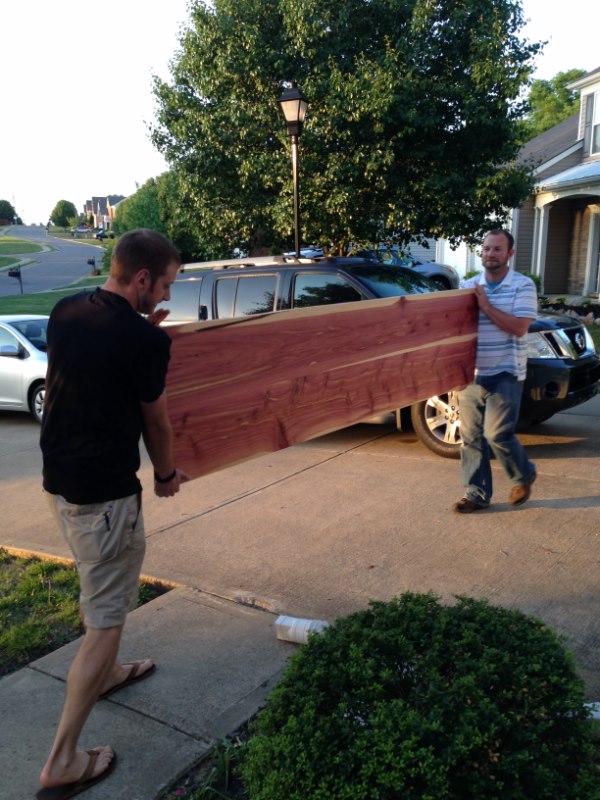
Mid-Century Modern Dining Table
Recently we had the opportunity of building a mid-century modern dining table. Project ideas and designs come from a number of different angles. But one of the most interesting and popular angles is from pictures. I will get an email from a prospective client with a picture of an item they saw in a store, a magazine or an internet search. It’s always followed by the question “can you build this for me”?
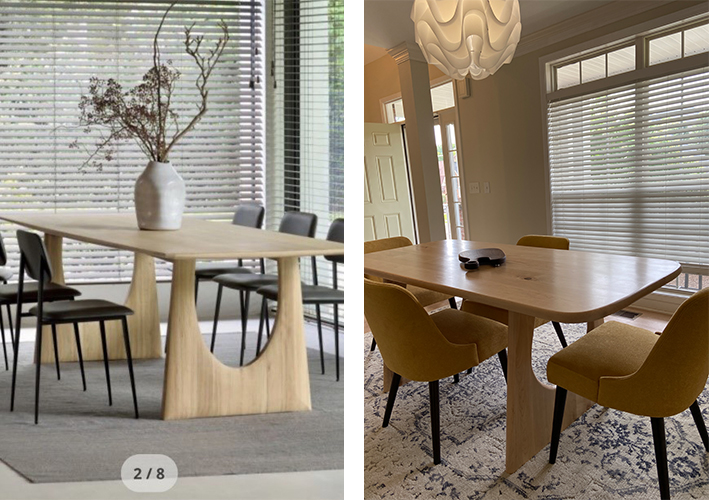
My latest project is just that. I received an email with the picture below asking if I can recreate this design.
The Table Idea
Picture on the left is what I was given and picture on the right is the completed project. Turned out pretty good if I say so myself. Explanations and more pictures below.
Researching the Project
The first thing I do is internet research to find out the specifics such as actual dimensions, build material and finish. Once I figure out what I am looking at then I can make a informed decision.
In the case of this table the description told me it was built with Pinewood. Not something that would lend to a long lasting family heirloom. So I decided to build it out of Hard Maple for durability.
But that was the easy decision, the hard one was – how do I create those legs. These are what the client fell in love with.
The Table Legs
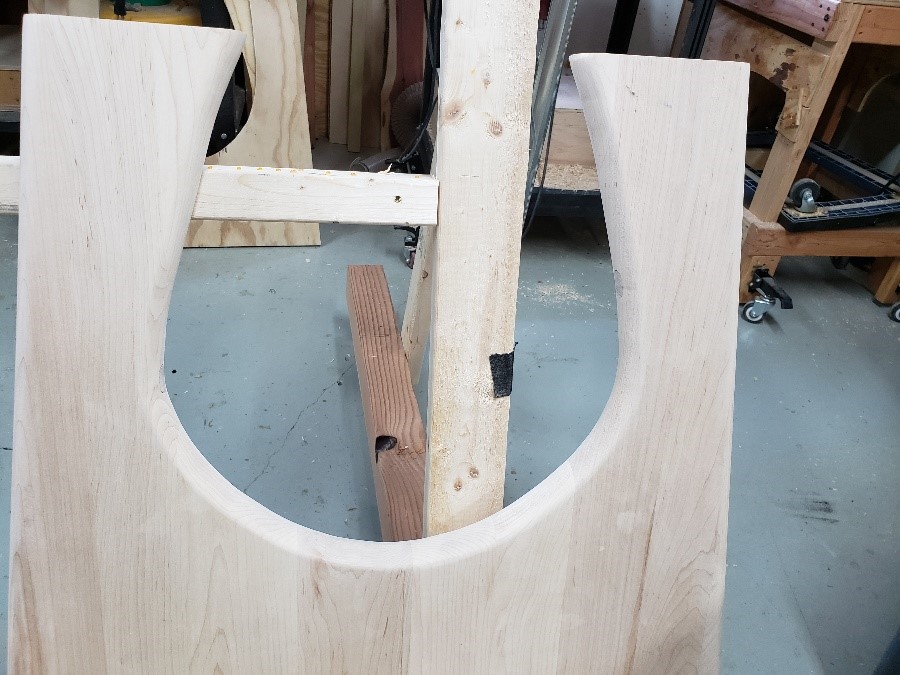
Using dominos, oblong beech pieces of wood, that combined with glue, give strength and stability to wood joints, I created 2 legs, 35” x 28” x 2”. Then I turned to my very talented wife to help create a template out of plywood that would mimic the shape.
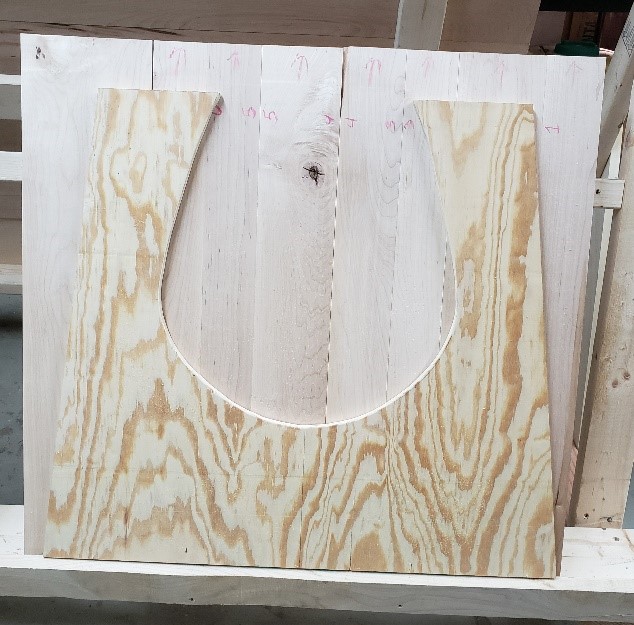
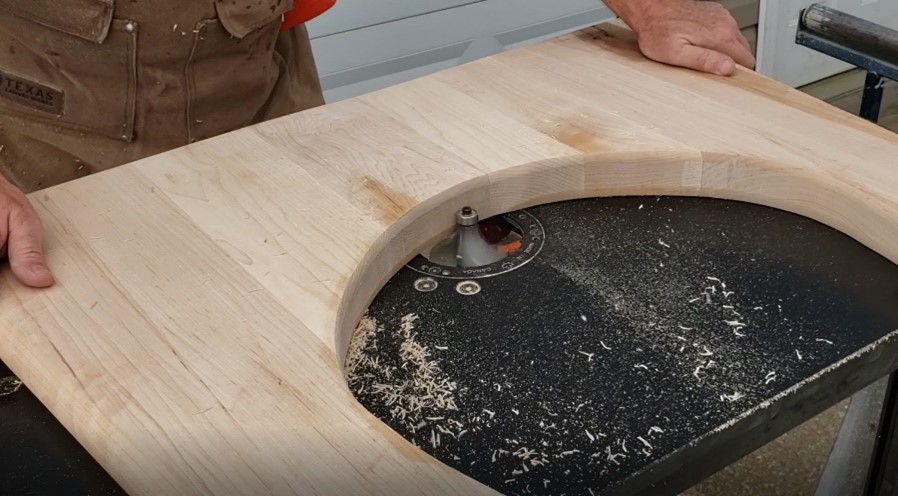
I used this template to both draw the shape on the wood prior to cutting with my jig saw and as a guide with my router table and flush trim bit. A flush trim bit has a bearing on it that runs against the template as a guide with cutter blades below that cut the wood to mimic the template.
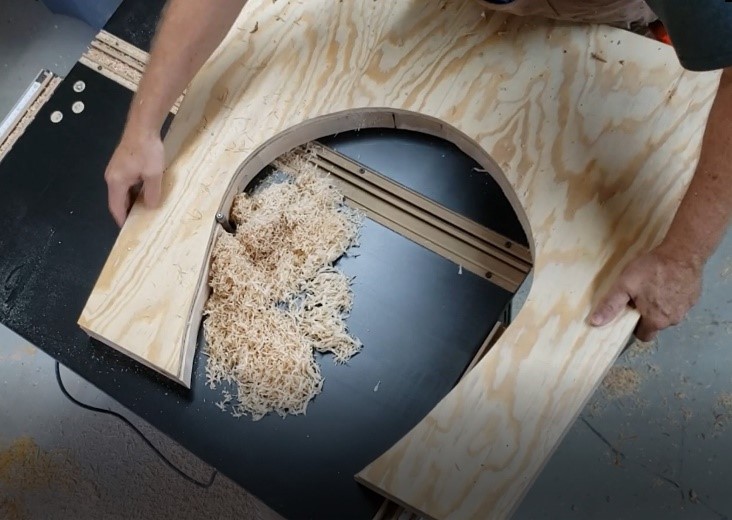
Now that the shape is correct, I needed to complete the transformation by completely rounding over the edges. I needed to purchase a very large router bit to produce this.
I am a fan of Whiteside router bits so of course the bit shown here is exactly what I needed to complete the work.
Whew, the legs are done, now its time to get the top together.

The Table Top
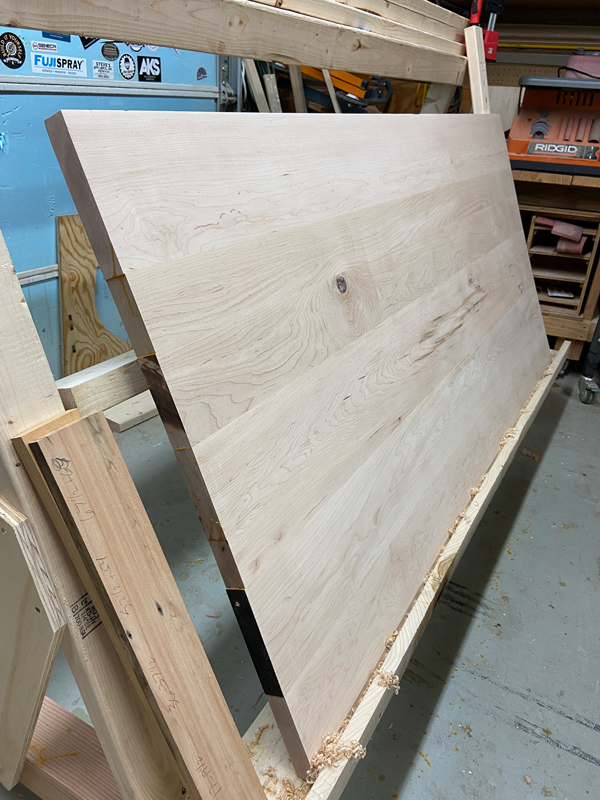
Same simple process as the legs, mill the edges, choose what pieces fit best together, drill domino holes using my Festool DF 700 and glue together using Titebond glue.
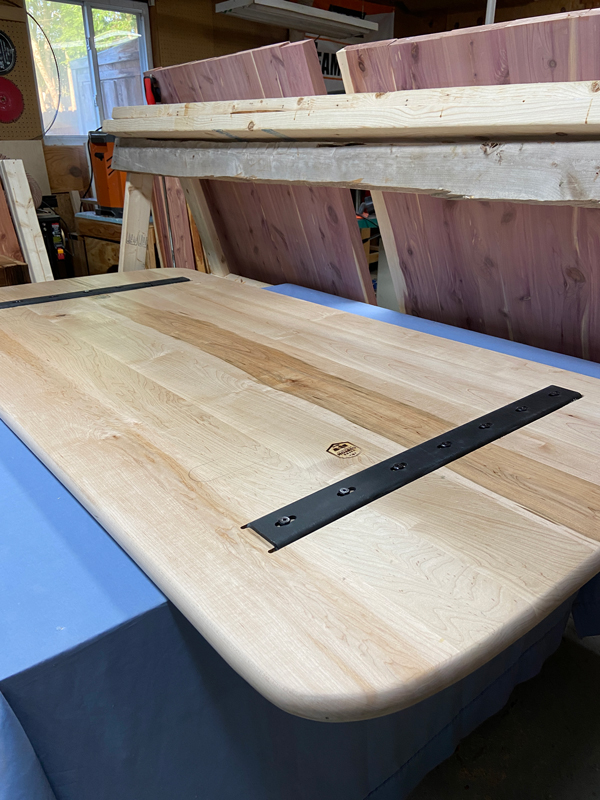
One last detail, the table has very defined end with round over edges, just like the bases. Once again I needed to call my wife again because the corners need an aggressive curve. Another piece of plywood, another template and yes another flush trim bit.
Finishing
Pictures say a thousand words and sometimes that is the only thing that defines what a client wants. It gives both the client and me a good image of what they actually want. We always wander a bit because they want it updated to their standards. Sometimes it’s a rounder curve, adding extra width or length, etc….
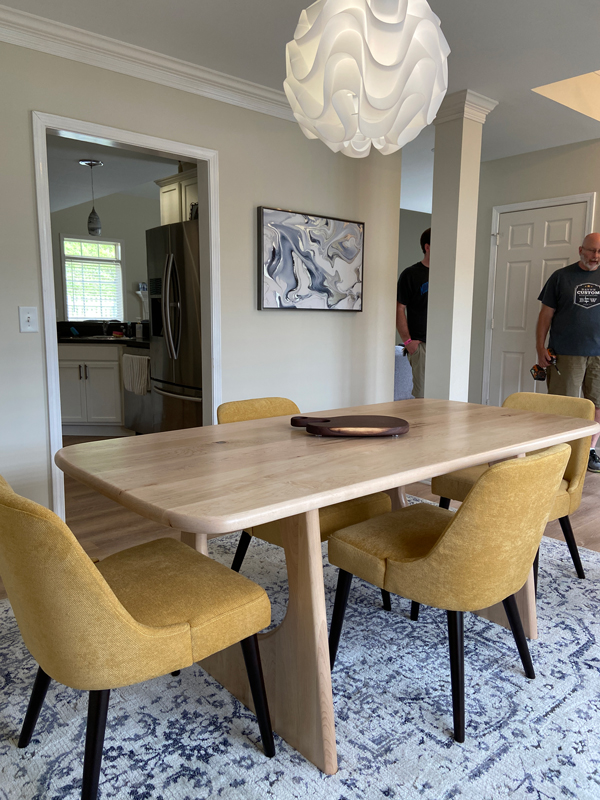
This is what makes what I do fun and forces me to keep up the skills I have learned and add more.
Sometimes it means adding new tools, sometimes it means finding help from various sources such as YouTube, Instagram or vendor web sites. We love the challenge and we’re always ready to brainstorm how we can make a project work for you.
Send us an email of your idea through our contact page here. You can upload your image right through the form and we can start discussing your project immediately.
