What Does “Custom Woodworking” Mean?
In simple terms the term “custom woodworking” means building a one of a kind, single item from the raw wood to a finished project. It’s a very different process than shopping at your local box store or favorite online “home goods” store.
When you request a custom piece, we take all your ideas, measurements and work from the wood species will work best to meet the project specs.
The project is one of a kind, and although we might make similar pieces, each one is unique.
Why Do Custom Pieces Cost More?
This question often comes up when we’re quoting a project. “Why does custom woodworking cost so much more?”
The answer is simple; we build one project at a time from real wood and that process requires skill and time and sweat. It’s a craft more than a job and we can only do one build at a time, and to make a profit on the work we do it requires a higher price tag.
Roger explains the process he goes through for each project below.
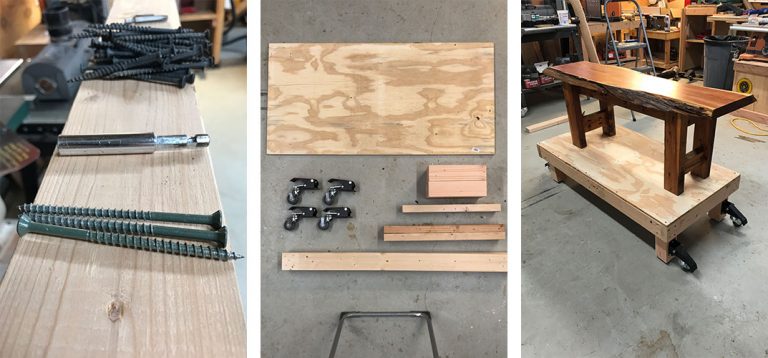
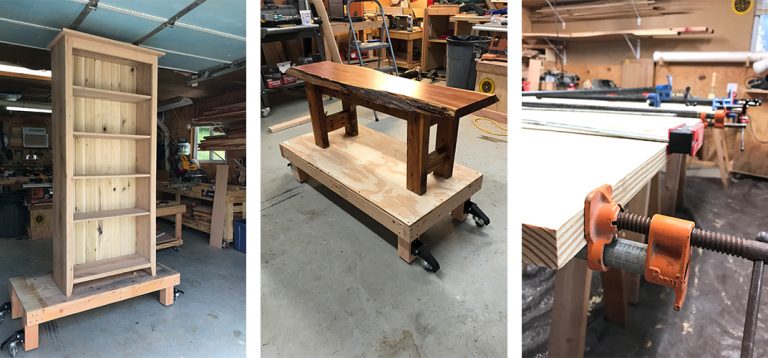
The Time Required
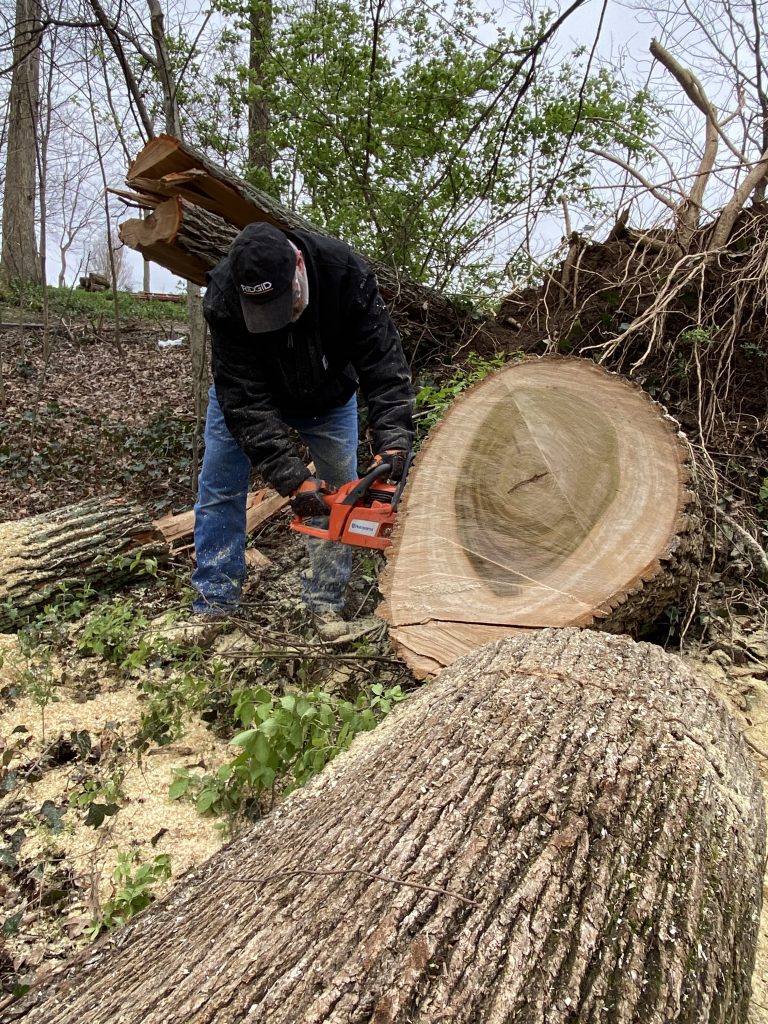
When we helped cut up this poplar (Harvested after the Nashville Tornado in March 2020) we knew the rounds would make some beautiful side tables.
We cut the log, rolled it down to our truck then stacked it to dry. A year later we finally were able to begin the custom woodworking project we had visualized 12 months earlier.

The Skill Required
Every woodworkers path is different but the common thread is time and practice. Like every other art, custom woodworking skills are developed over years of practice. Each piece is made from the experience Roger learned from previous projects and always has a little bit of him built within.
We understand that custom products are not for everyone and that we all at some time purchase items form large manufacturers and brick front stores.
However, if you do decide to purchase from a custom woodworker/craftsman you should understand what it takes to get from the tree to your home.
Where to get wood for projects
Buying raw materials for a project can be as easy as running to Lowes or Home Depot to buy milled and smooth lumber that has been surfaced. But most custom woodworkers try to find a local saw mill for rough lumber with a wider selection and better prices. Of course harvesting wood from a fallen tree requires sweat equity but offers the best price!

Our Favorite Local Lumber Mills
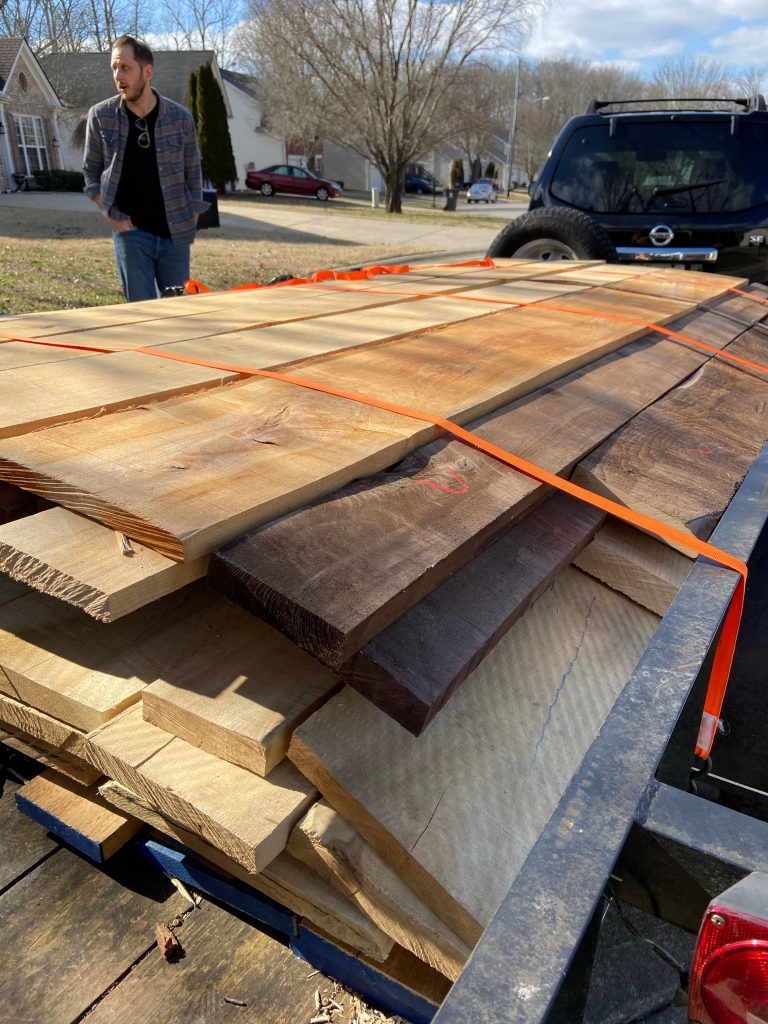
Recently we took a trip to a lumber mill to acquire a load of rough sewn lumber that will be used for future projects. This lumber comes in various thicknesses and widths and has a rough finish. It’s important to choose lumber carefully to avoid splits, unuseable areas or an excessive amount of knots.
Choosing the right variety of wood
Before I even start a custom woodworking project, I have to answer these questions:
- Will it be painted or stained?
- Will it be used inside or outside.
The answer will determine the type of wood I’ll choose for the project. Building for outdoors we recommend Tennessee Cedar, a painted project we prefer to use poplar. If you’re planning on staining or clearcoatting the wood, we recommend oak, ash or walnut.
The Custom Woodworking Process
Roger explains each step he must take to create a custom piece.
Milling the Lumber
The first step to preparing the lumber for the project is to cut the wood to a workable length.
JOINTER
The pieces are then run through the Jointer to make one face of the lumber smooth and flat. Then I will take that piece and smooth one edge to make it flat as well.
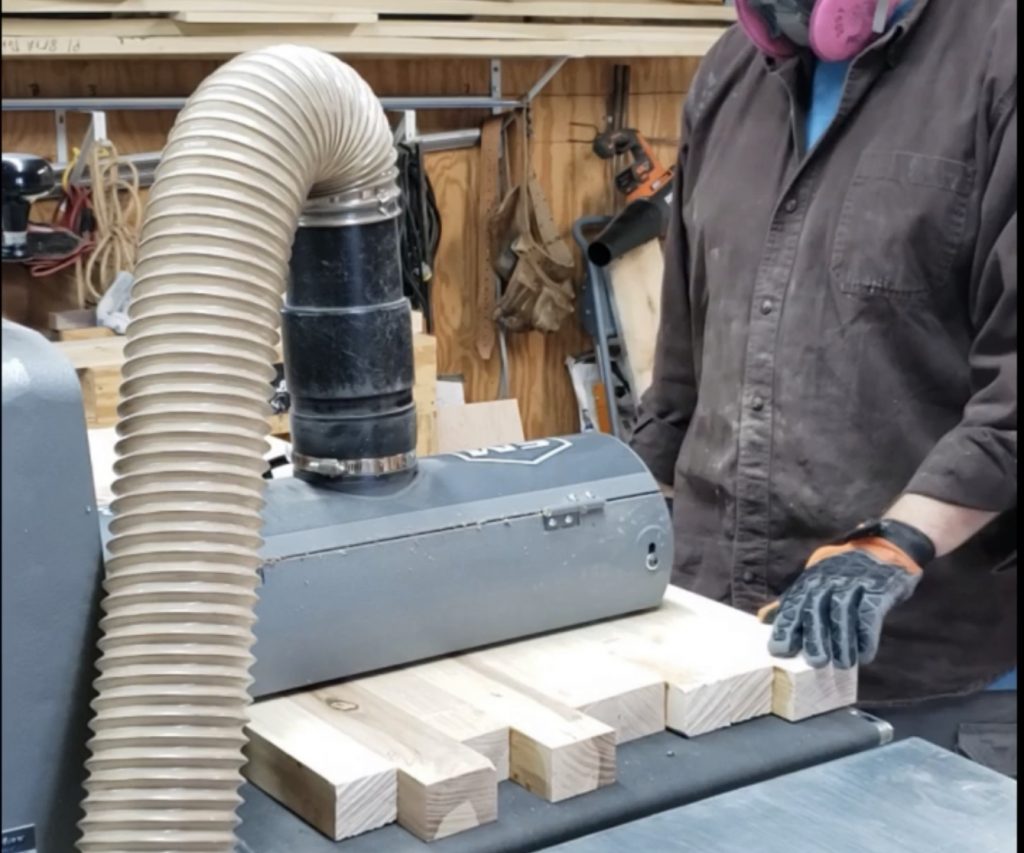
SURFACE PLANER
Once this board has been jointed it I take it to two other machines in the shop.
I use the surface planer to make the other face of the board coplanar to the side that I have already jointed. By placing the board smooth face down, I run it through the planer until the rough face is smooth.
TABLE SAW

The I take the board to the table saw to make the rough edge coplanar to the edge that was cleaned up on the jointer. By placing the smooth edge against the rip fence and cut the rough edge. While this will make the board narrower, I now know I have a good, coplanar board to work with.
Depending on the project I may do this to any number of boards to join them together. If this is a dining table, I will work this process on 8 or more boards depending on the size of the table and the width of the wood.
Joining the Wood
Now that the wood is milled, I will need to join the wood to make the proper width. This joining can be done any number of ways. I can use items such as Biscuits which are very slim, oblong shaped pieces of wood that are cut with a Biscuit cutter. Another option is to use dowels using a drill bit to cut each piece in identical locations to insert the dowels.


Domino Jointing System
While I have used both methods in the past and still do at times, I now use what is called the Domino jointing systems. Beech items that vary in size with large surface for glue to maximize stability. A special tool is needed to cut these shapes into the wood to hold the dominos.
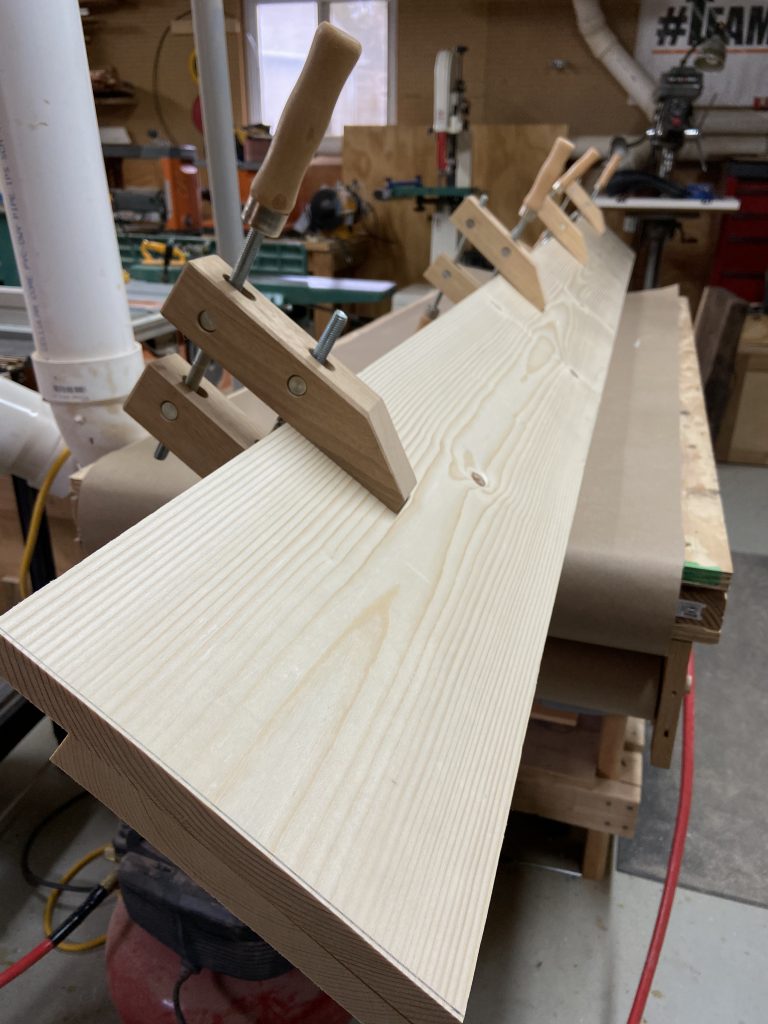
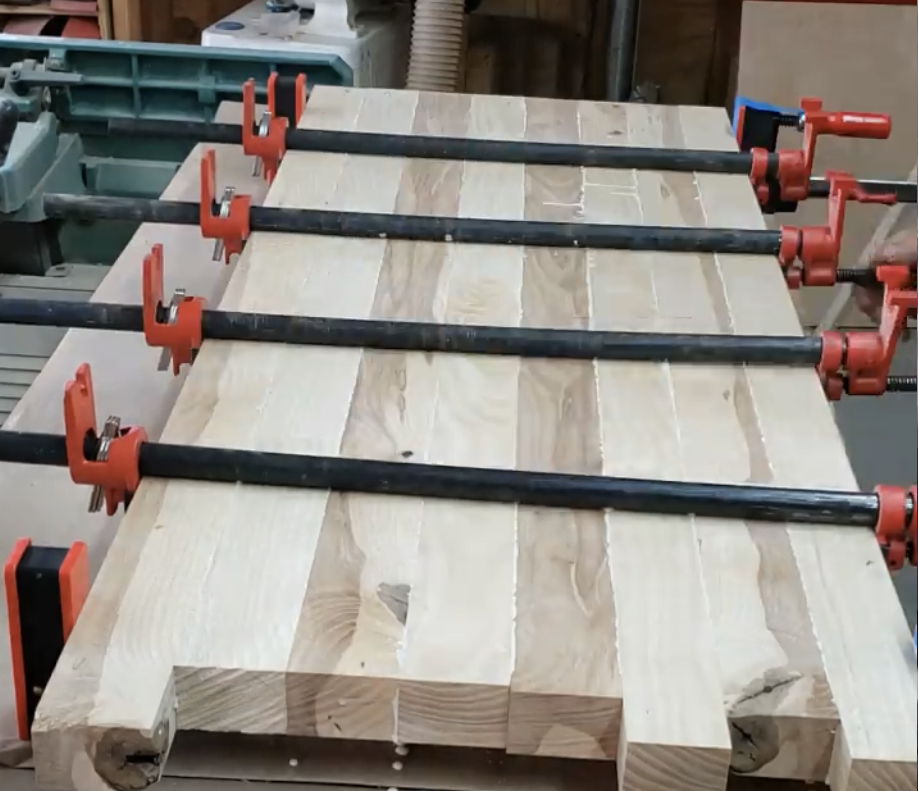
The Glue Up
Whatever technique is chosen, the next step is to place them into clamps with glue. This glue is allowed to dry in the clamps for a number of hours.
Once dry, the glue joint can be stronger than the actual wood.
There are several glue manufacturers, but I choose to use a product called Titebond.
Depending on the application, you can choose between interior and exterior glues. For cutting boards you need to use a glue that is able to resists water and not split.
Sanding the Custom Woodworking Project
Once out of the clamps it is time to start sanding the project.
This is one of the longest process in the build process. Depending on the size of the project, I may even start this process by going back to the surface planer to clean things up.
Drum Sanding
I have multiple tools to, both hand and automatic that will do this work. I have an item called a drum sander that will handle any item that is up to 36” wide. Starting with a course grit sandpaper I will clean off any dry glue and even any unlevel spots that occurred during clamping.
This process with continue with multiple grits of sandpaper until I have a good flat and clean surface.
Hand Sanders
I then turn to my hand sanders to finish and bring the project to clean and smooth surface. Starting with 60 Grit and working up to 600 grit for tables, this is a long and tedious process but well worth the effort.
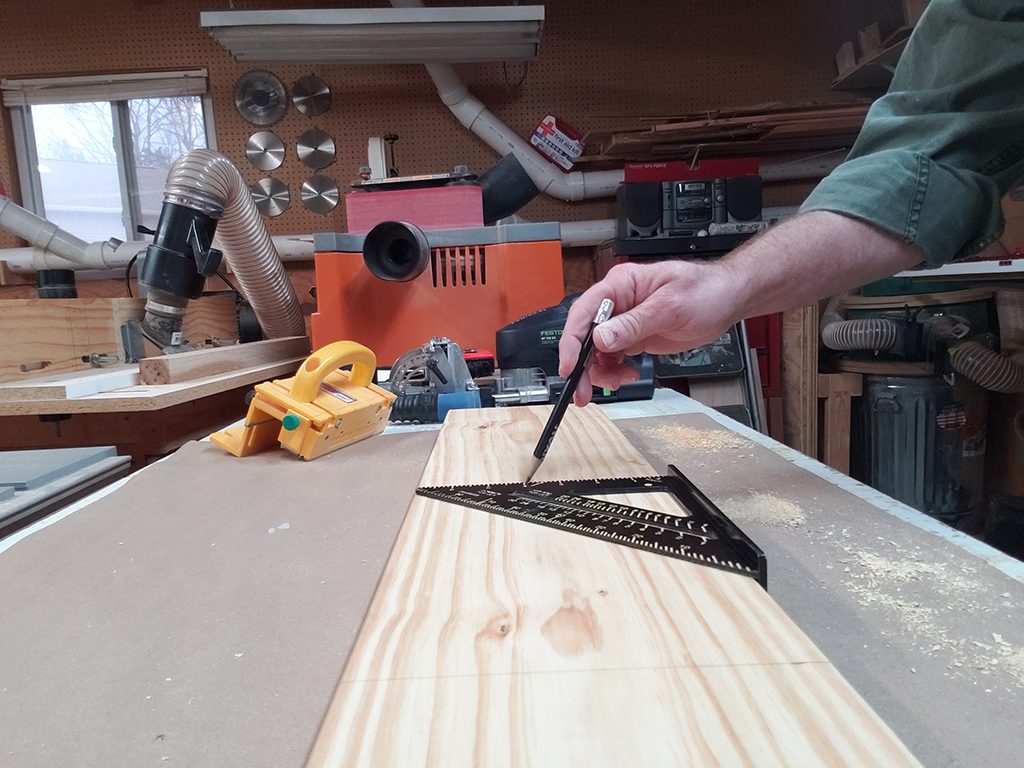
Squaring and Routering Edges
Using a track saw and compound sliding miter saw I will clean and square up all the edges and make sure the project is where the final dimensions need to be. Once this is complete, I will need to use my router to smooth the edges.
Finishing Tip
While I want to jump into applying the finish, I need to take it back to the sander with 600 grit sandpaper to make sure I have cleaned it up, removed any scratches or pencil marks.
Now it’s time to apply a coat of mineral spirits to remove any dust that is left.
This step will also tell me if there are any perfections and show me if there will be issues with the stain and/or polyurethane. If there are issues, then back to the sander.
Finishing Application – Paint
Applying the finish is what I have been working towards. This step will tell me if I have accomplished my goal of properly preparing the project.
If paint is to be applied, then I will apply a coat of primer to seal the wood and allow the wood to soak this in. Then I will apply paint either with a sprayer or with a roller. I want to make sure the coats are even and with no runs. Even though spraying is faster, I prefer to apply the final coat with a roller and brush to make sure everything is perfect.
Finishing Application – Stain
If I am applying stain, I use a cotton rag to apply the stain evenly and let it sit on the project to soak into the wood. Another clean cotton rag is used to evenly wipe it off.
It’ll be 3 days after applying the stain before I can apply polyurethane. I want the stain to dry completely and be accepted by the wood.
My own wiping polyurethane works well to get a clean, smooth finish.
The mix is created using mineral spirits and satin oil-based poly It will take 5 to 6 application of this mix with a cotton cloth. This mix will dry quickly and spread evenly.
The mineral spirits will work as a leveling agent, will evaporate, and allow the poly to spread evenly. Between coats I will lightly use steel wool if I feel its needed to remove any bubbles that have occurred and dried.
I will set this final project in my house for about 72 hours to completely dry and harden before delivering to the client.
How can we help you with your project?
Have you checked out our portfolio of recent projects or followed us on Instagram and Facebook? Follow us to see the newest custom woodworking projects in the shop and be inspired for your next build.
If you’d like to discuss a project use our form here to tell us the details! We can’t wait to hear from you!